Choose confidently with bond types, grit ladders, 4 in/100mm sizes, and backing options for granite, marble, and concrete; includes If‑Then trees and safety references.
Choosing the right diamond polishing pad directly impacts your finish consistency, cycle time, and total cost of ownership (TCO). This isn't just a minor decision. By methodically aligning pad size (e.g., 4 inch/100mm), bond type, and grit ladder with your material, you can significantly reduce rework and manage operational risks.
Get a tailored selection sheet for your materials and finish spec.
This guide gives you a structured framework for making that choice, offering a decision tree and key procurement considerations. For a comprehensive overview, start with a Diamond Pad Selection.
Your Six-Point Diamond Pads Purchase Decision Guide
Your selection process should revolve around six key variables. Getting these right is the first step to a predictable finish.
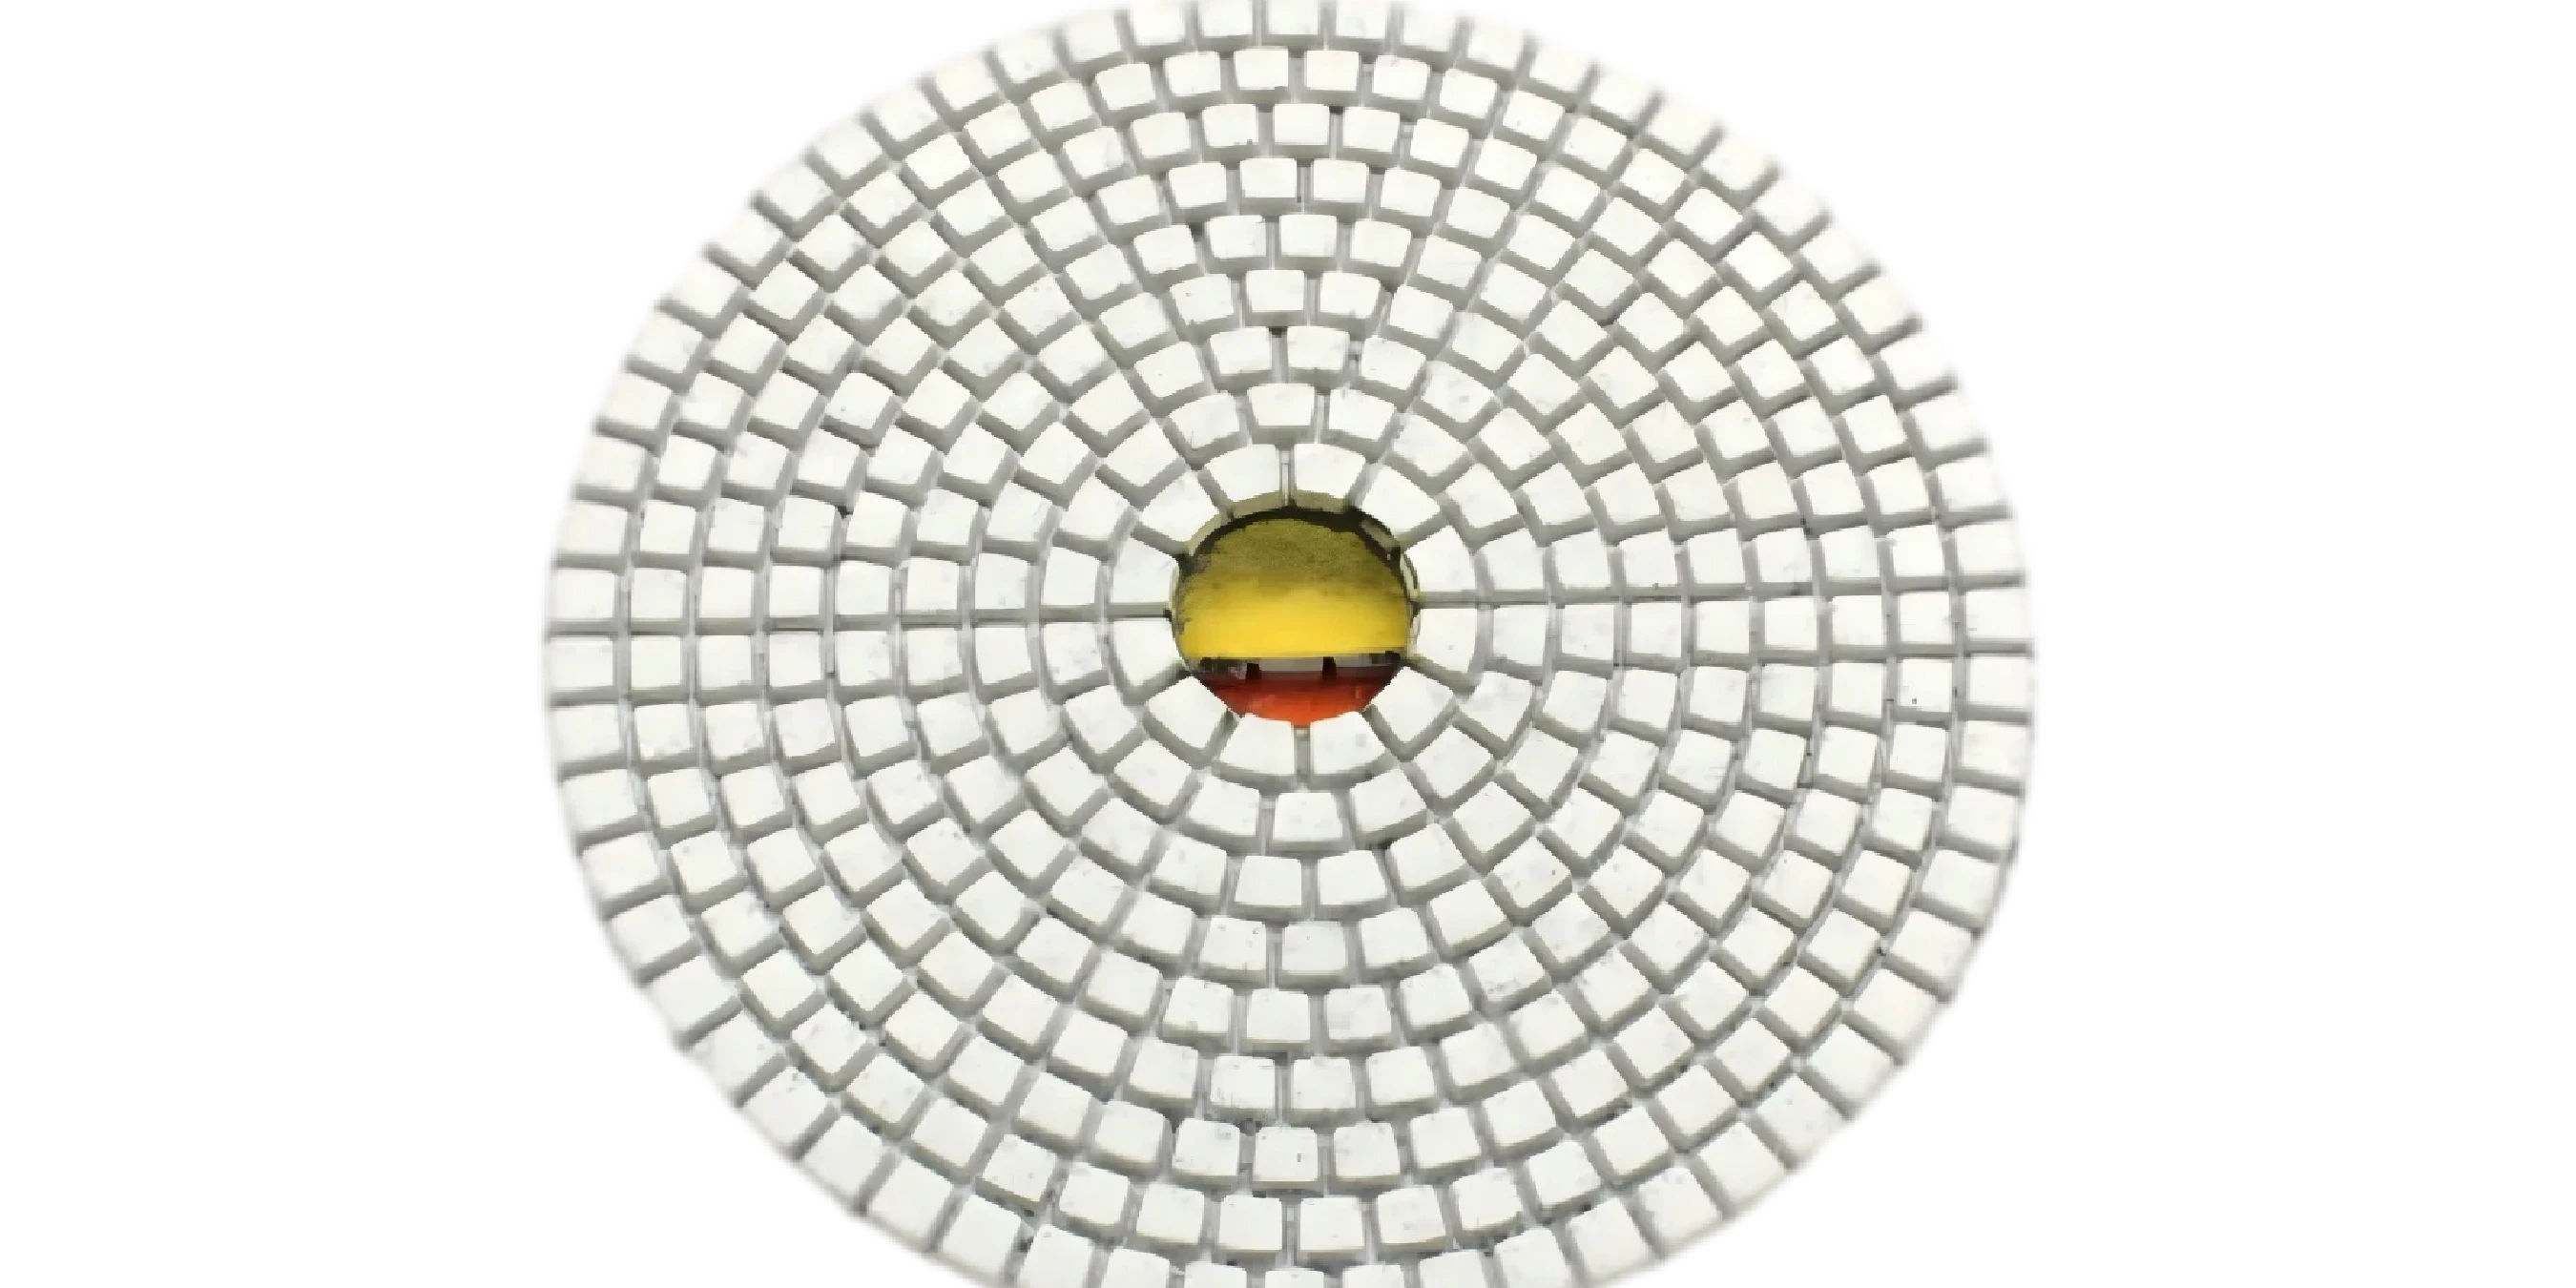
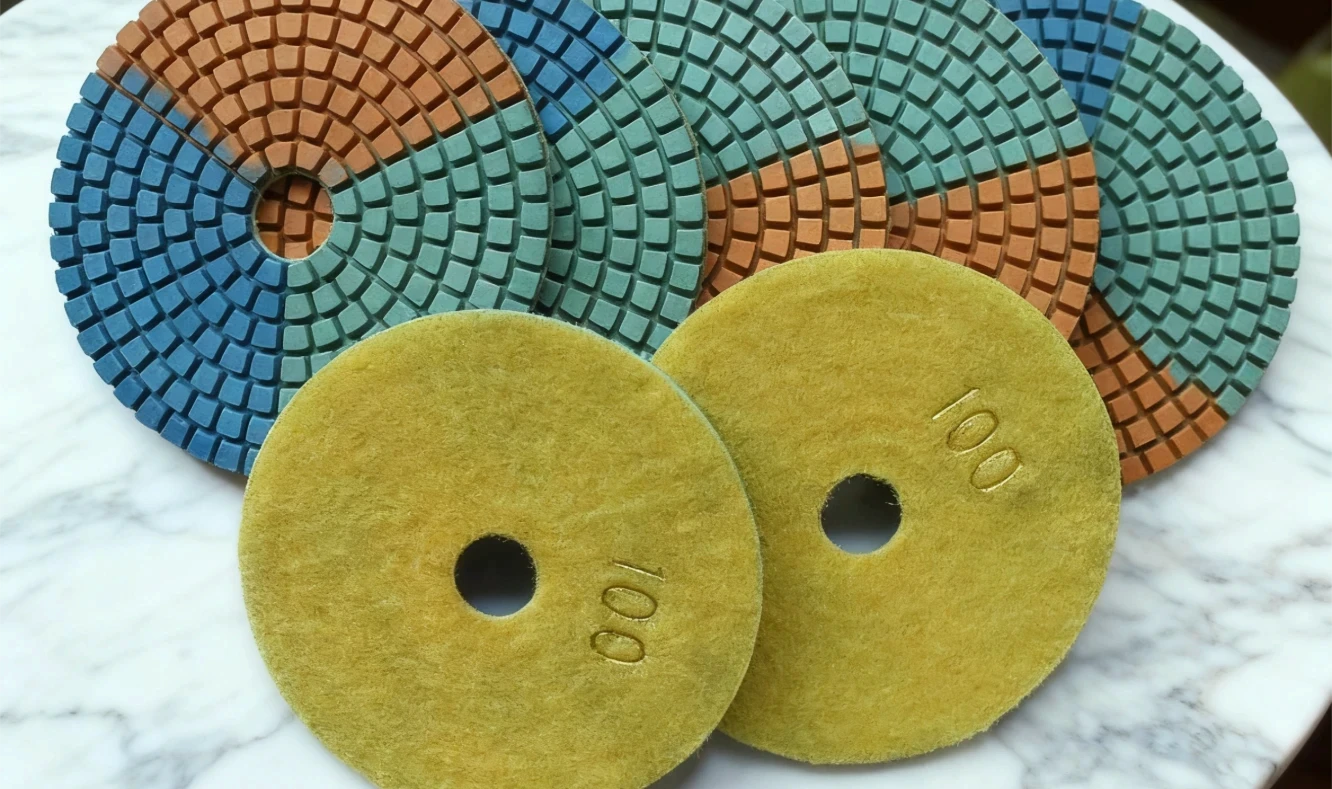
- Dimensions: 4 inch/100mm pads are the industry standard for handheld polishers. You should always confirm the diameter and ensure your tool's backing plate is in good condition. Typical inner hole sizes are 16mm for 100mm pads, 20mm for 125mm pads, and 25mm for 150mm pads. If you have special requirements, it's best to confirm in advance.
- Bond Type: Resin bonds are your go-to for finishing and high gloss, while metal bonds offer aggressive cutting for shaping. Some hybrid options may exist for specific applications .
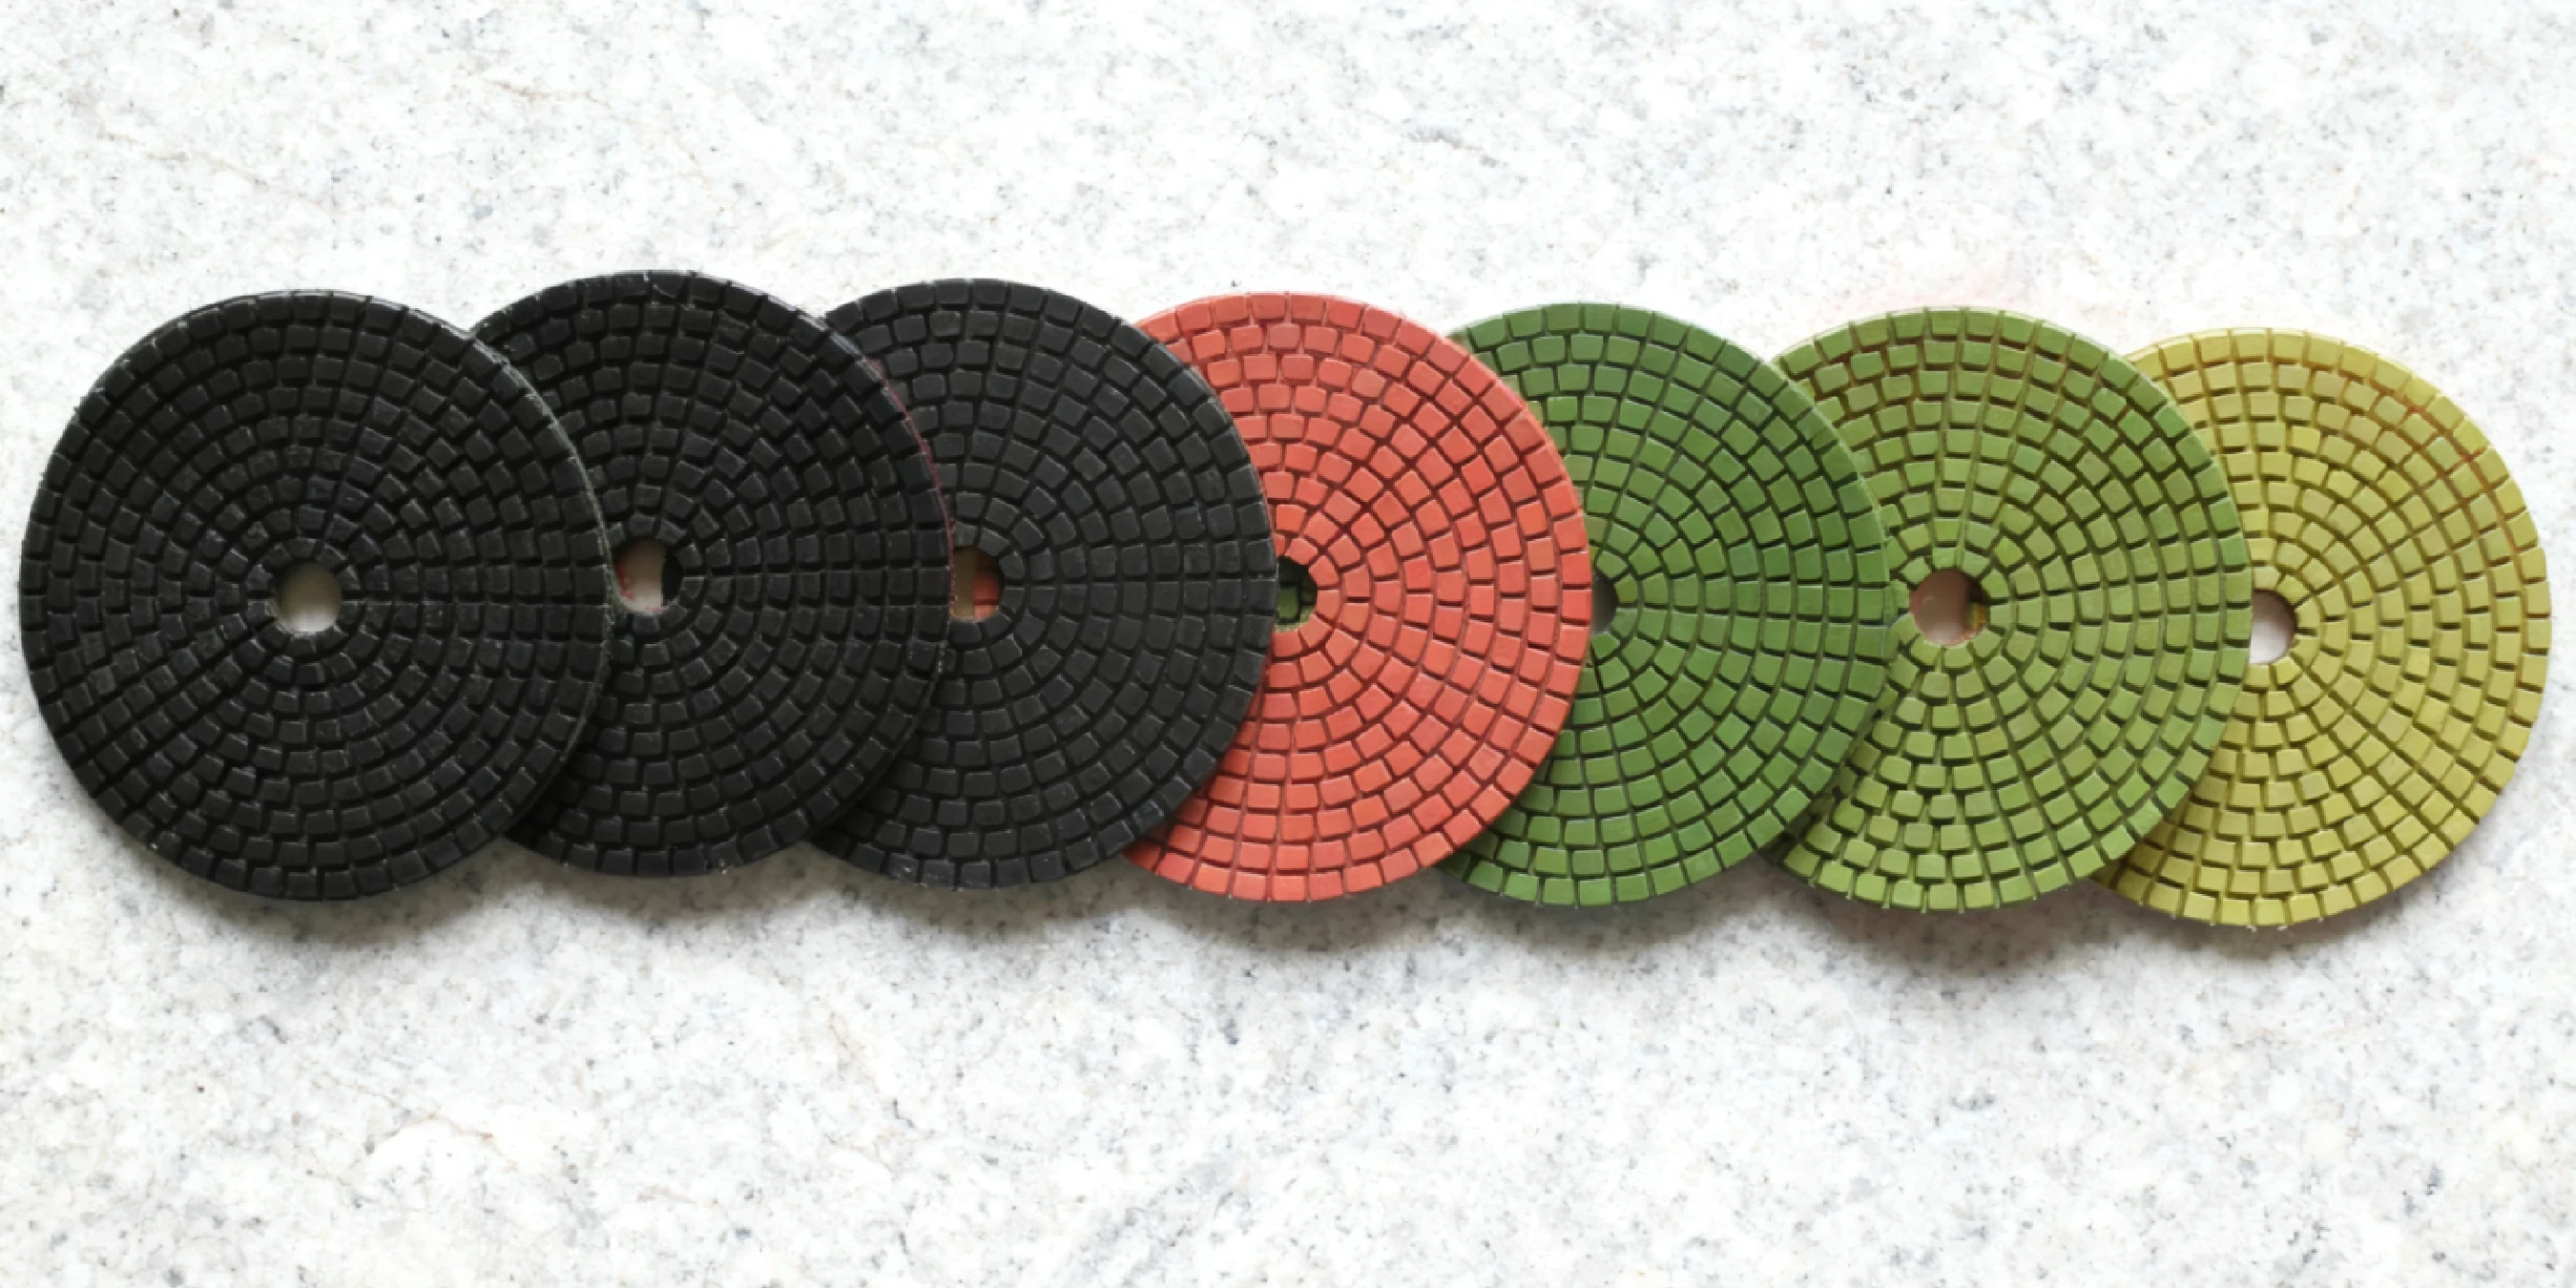
- Grit Ladder: A typical ladder runs from #50 to #3000. You'll need to define your start and end points based on the initial surface condition and your target gloss.
- Backing: A hook-and-loop (velcro) system is standard for quick changes. Regularly inspect the backing plate for wear to ensure a secure connection.
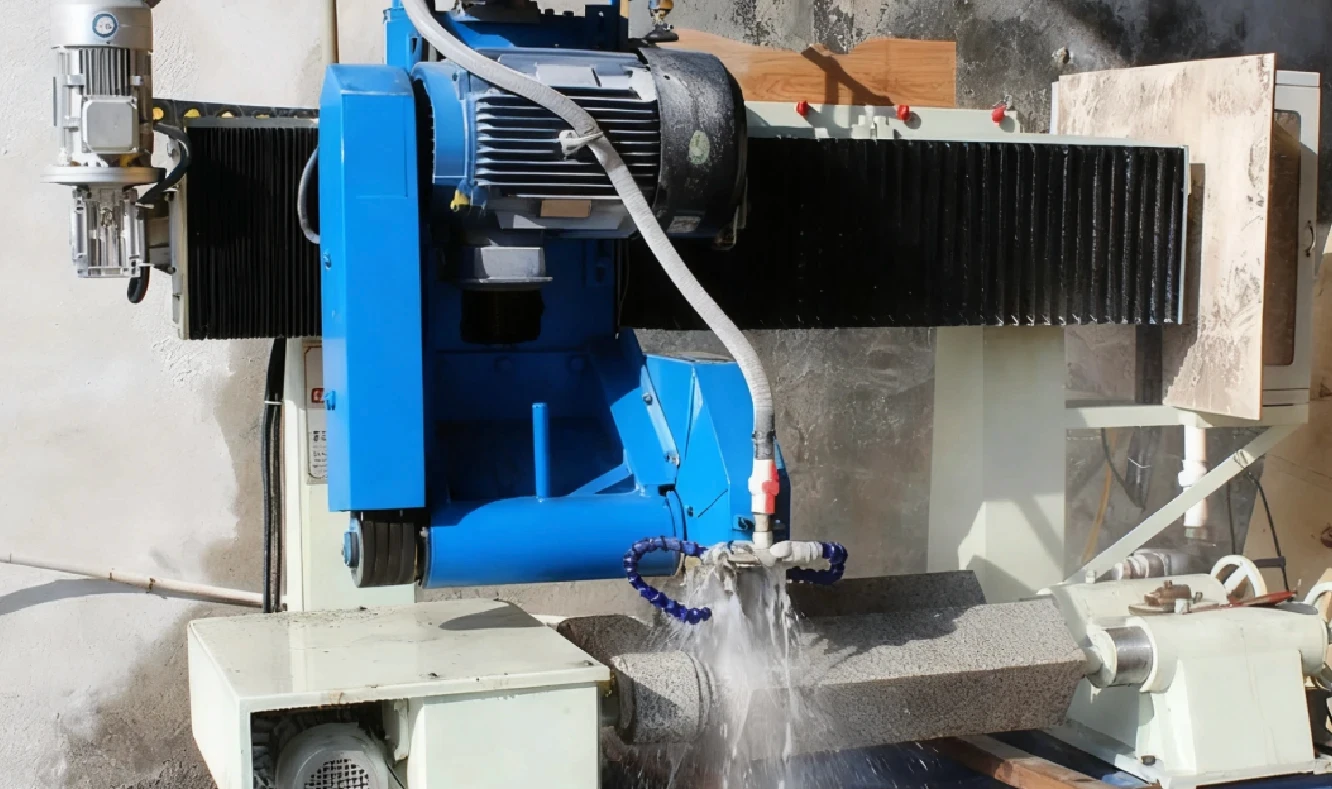
- Dry vs. Wet: Dry polishing improves on-site mobility. Wet polishing enhances gloss, controls dust, and reduces pad loading, making it preferable for marble and engineered stone.
- Holder Compatibility: Ensure a secure hook-and-loop engagement and operate within stable RPM and pressure windows to prevent pad slippage or damage.
Tip: Adapters include rubber (single/double layer), aluminum, and pneumatic adhesive pads. You should match the joint to the tool, whether it's an air polisher or one of DINOSAW's automated machines.
Which BUFF Pad Should You Choose for the Final Polish?
Use black buff for black or very dark stone, and white buff for all other colors. Remember, the BUFF stage is for pads finer than 3000# grit, designed to achieve that final, mirror-like gloss.
How Many Steps Should Your Polishing Process Have?
You should default to the standard 7-step ladder (50#, 100#, 200#, 400#, 800#, 1500#, 3000#) for most jobs. If time is tight or the stone is softer (like some marbles), you can use a 3-step, 4-step or 5-step route and finish with a BUFF pad to reach a near-mirror gloss, especially on large-grain stones.
If-Then Selection Tree: Starting Configurations
Use these decision paths to select your initial configurations. But remember, always validate parameters on a scrap piece before starting production, as your specific tool will influence the outcome.
- If Granite Edge (Dry), Then... use a metal or hybrid bond with a ladder from #100 to #1500. Apply moderate pressure at a stable RPM per your tool's manual. Risk Tip: Monitor for heat buildup; switch to a wet process if you see burn marks.
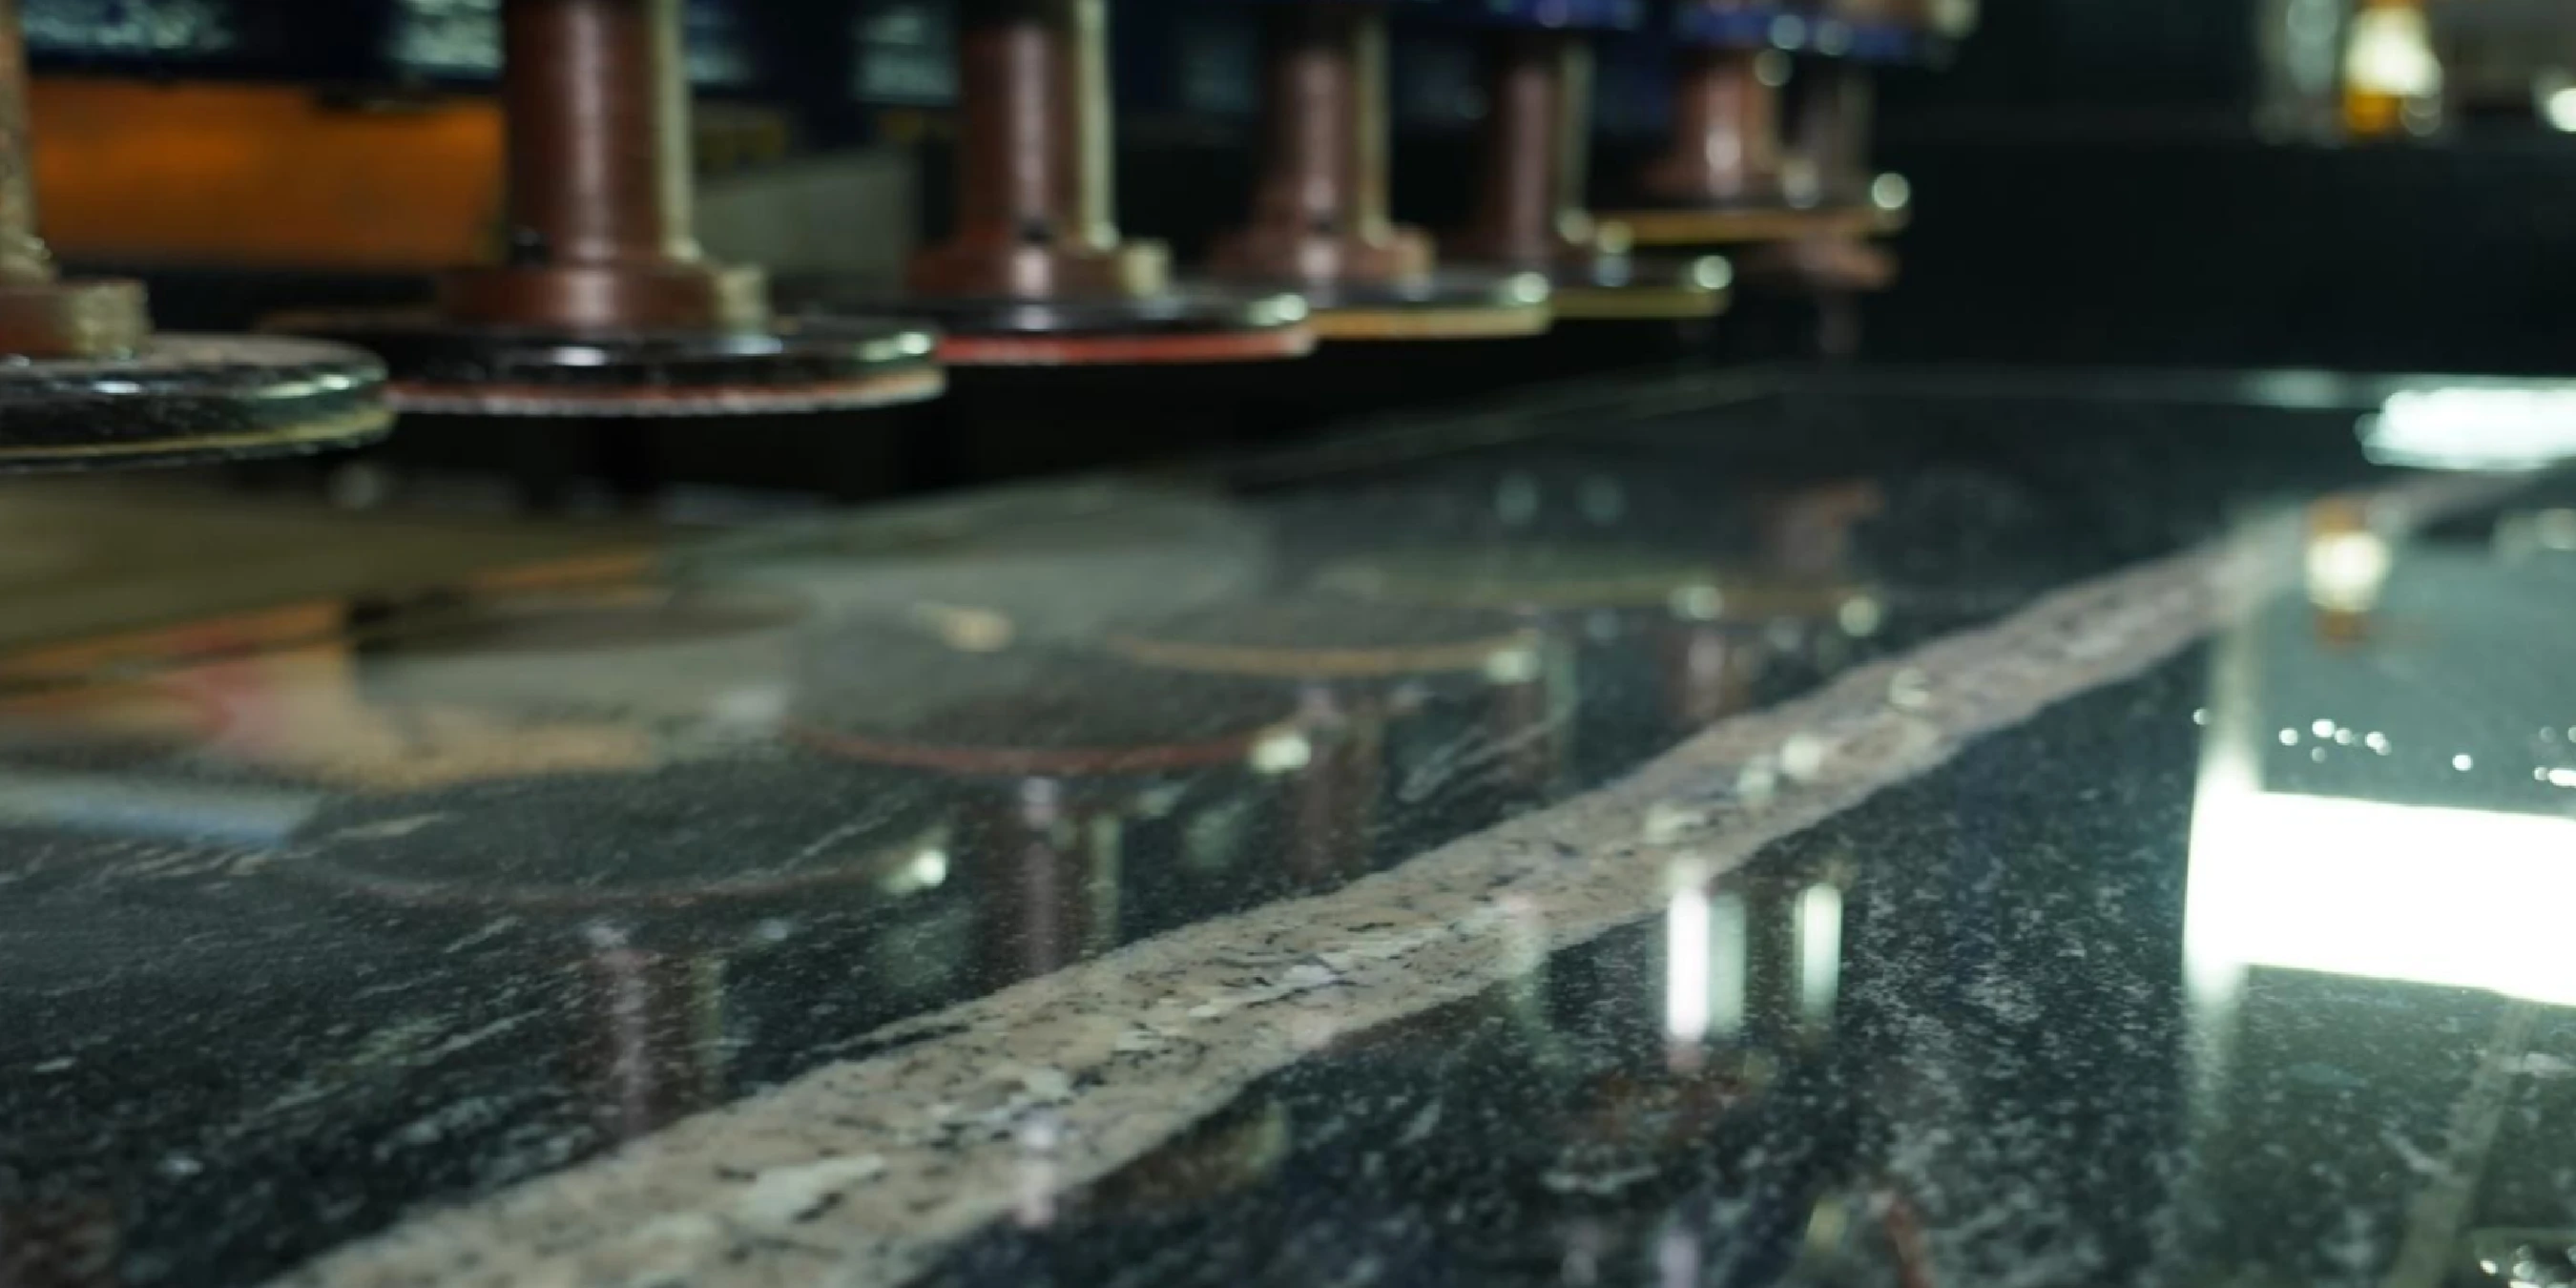
- If Granite Slab (Wet), Then... use a resin bond with a ladder from #200 to #3000. Apply light pressure with continuous coolant flow. Risk Tip: Overlap your passes evenly to prevent gloss inconsistencies.
- If Marble Slab (Wet), Then... a resin bond with a #200 to #3000 ladder is essential. Use very light pressure and continuous coolant. Risk Tip: This process protects marble's natural gloss and minimizes dust.
- If Concrete Patch Blending (Dry-to-Wet), Then... start with a metal bond and a #100 to #800 ladder. Feather the edges and vacuum between steps. Risk Tip: Switch to a wet coolant if dust becomes excessive.
- If Engineered Stone/Quartz (Wet), Then... use a resin bond with a #200 to #3000 ladder and continuous coolant. Risk Tip: The wet process is critical to mitigate pad loading and prevent resin burn.
- If High-Gloss Target, Then... extend a resin bond ladder to #3000, use wet polishing, and slow your pass speed. Define your gloss unit (GU) targets per customer spec. Risk Tip: Validate your gloss KPIs with a gloss meter to ensure you are meeting spec.
How Do These Pads Compare With Your Current Route?
Whether you're polishing by hand or using automated machinery, diamond pads offer distinct advantages.
- Compared to Manual Routes: If you're using traditional abrasives, the learning curve can be steep and results inconsistent. Diamond pads win on repeatability and finish consistency, reducing your cost per cycle by minimizing rework, even though the initial pad cost might be higher.
- Compared to Automated Routes: If you already have automated systems, diamond pads enhance their precision and repeatability. You should map the recommended RPM windows and pressure settings to your PLC or drive parameters to ensure you're getting the most out of both the machine and the consumable.
Procurement and Lifecycle Topics
- Spares: You should maintain complete pad sets for each grit level. Base your stock of replacements on DINOSAW-reported cycle counts and your usage frequency.
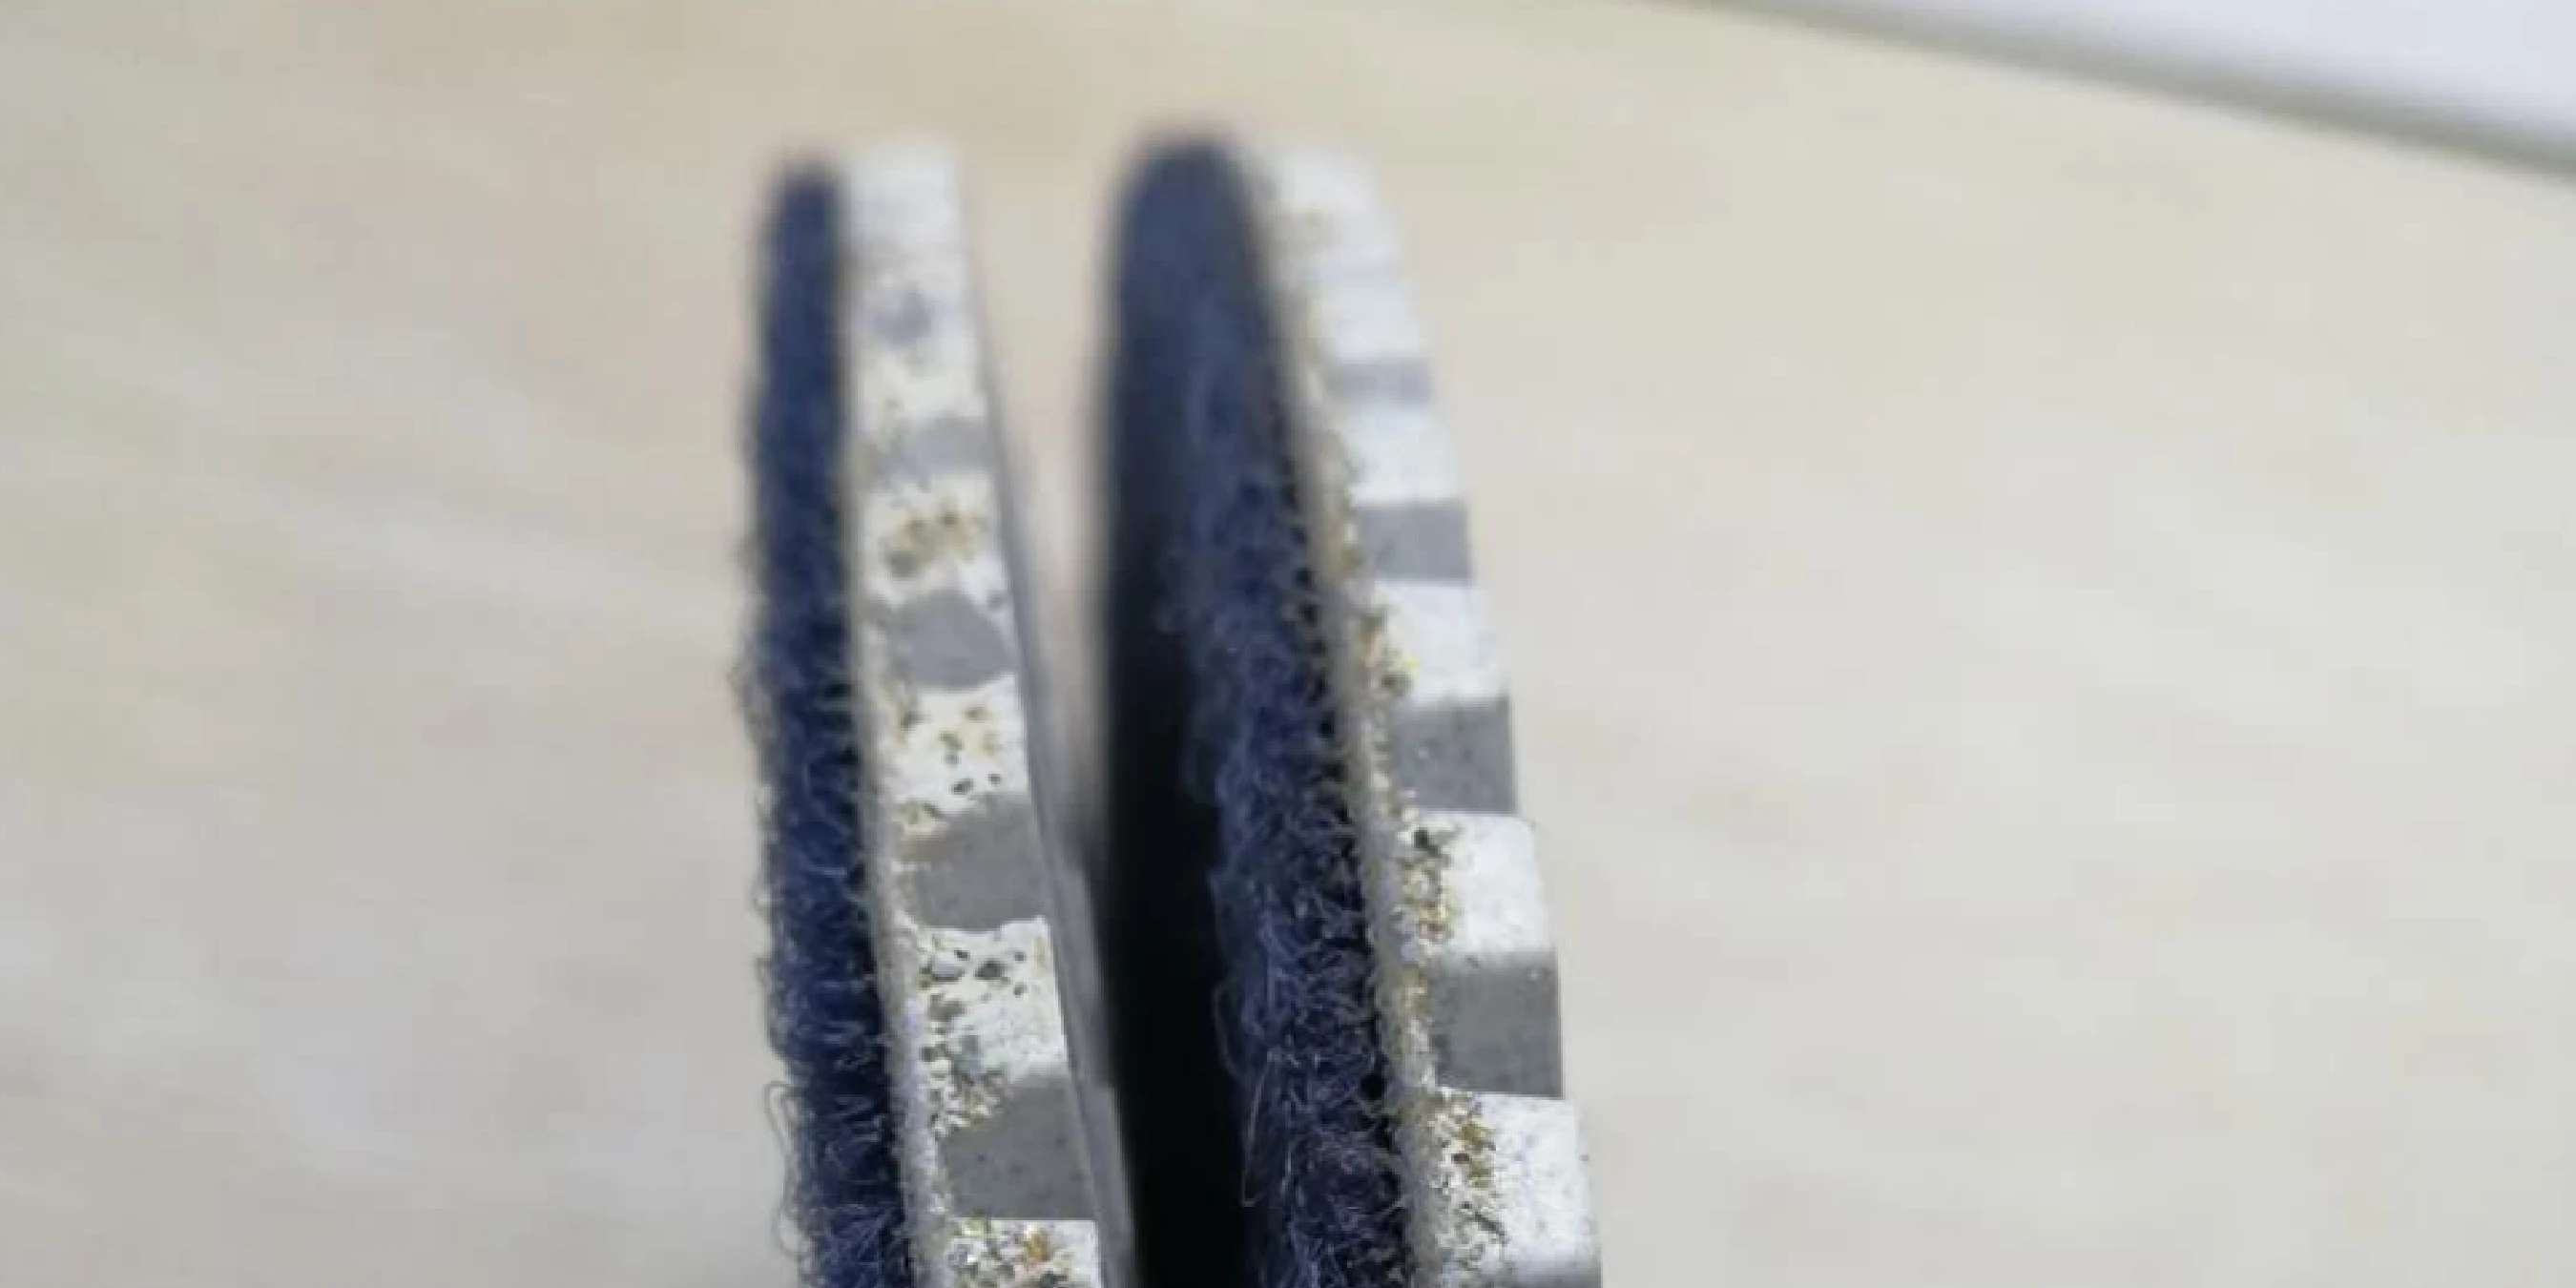
- Maintenance: Plan for pad cleaning and inspection between shifts. A pad should be retired if it shows signs of delamination or persistent glazing that can't be dressed.
- Training: Ensure your operators follow a standard operating procedure (SOP) for grit changes, RPM/pressure settings, and coolant management. Logging these parameters helps ensure consistency.
Frequently Asked Questions
Which bond should I pick for granite edges?
For aggressive shaping, you should choose a metal bond. For the final finish, switch to a resin bond. If you're polishing dry, be sure to monitor heat and dust closely to avoid burn marks.
Should I use hook-and-loop backing?
Yes. Hook-and-loop (velcro) is the industry standard because it enables faster changeovers and provides repeatable, secure mounting. Just remember to inspect your machine's backing plate regularly to ensure a good connection.
How do I define my grit ladder?
Base your ladder on initial defects and your target gloss. A typical progression is #50 → #100 → #200 → #400 → #800 → #1500 → #3000. Start lower for rough surfaces, higher for pre-finished ones.
Should I mix dry and wet polishing in one job?
Yes, this is a common and effective practice. You can start with dry passes for mobility and initial shaping, then switch to wet polishing for the final stages to achieve a higher gloss and better dust control.
When should I retire a diamond polishing pad?
You must retire a pad when it shows persistent glazing that can't be dressed, if the backing begins to delaminate, or if it produces an uneven cut even after being cleaned. Continuing to use a worn-out pad will only create more work for you.


 Oct 12, 20255 MIN READ
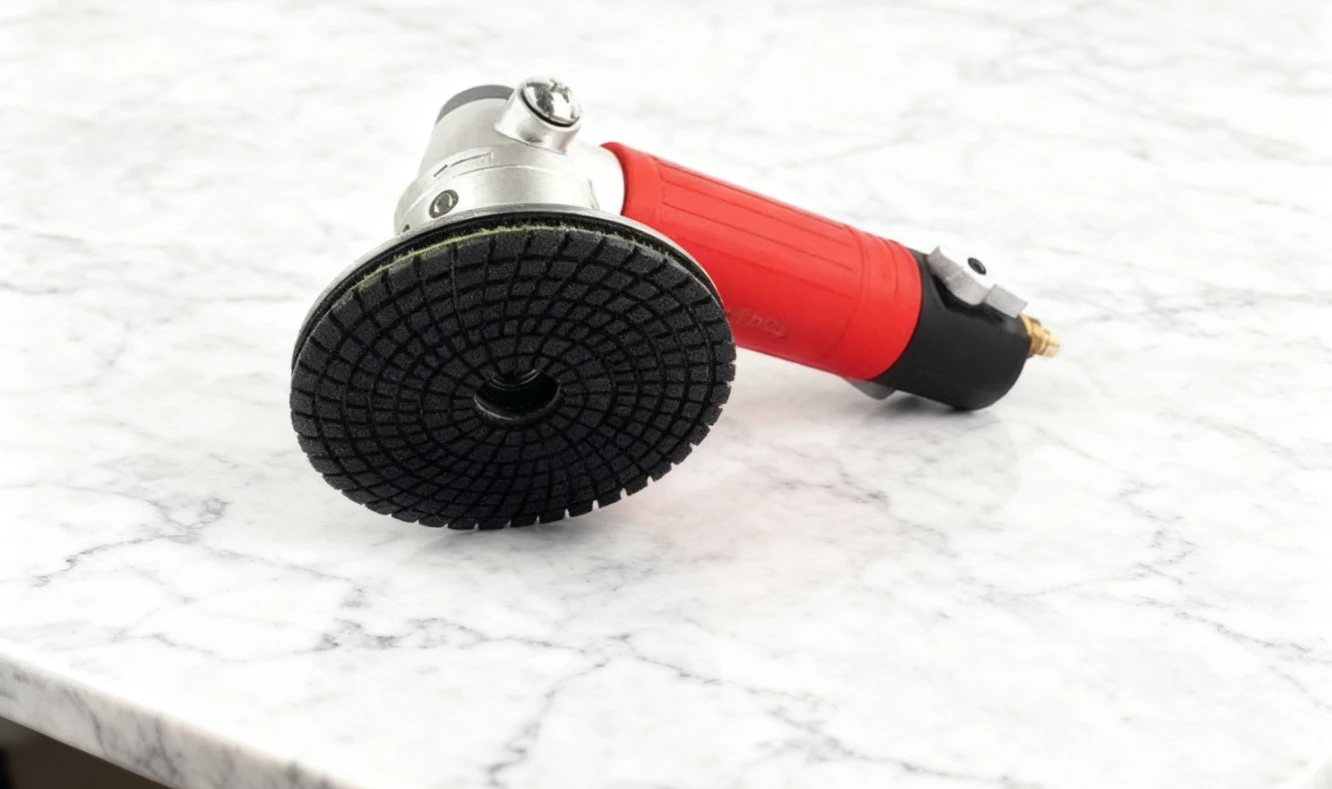
 English