


Ms.Lizzy
Hi, this is Lizzy from Dinosaw ( Not a Robot ). Which Machine ( model ) do you want? Please WhatsApp us now
Open Hours:8:30am-20:30pm
WhatsApp: +86 198-5901-3937
Open Hours:
8:30am-20:30pm
 Sep 5, 20257 MIN READ
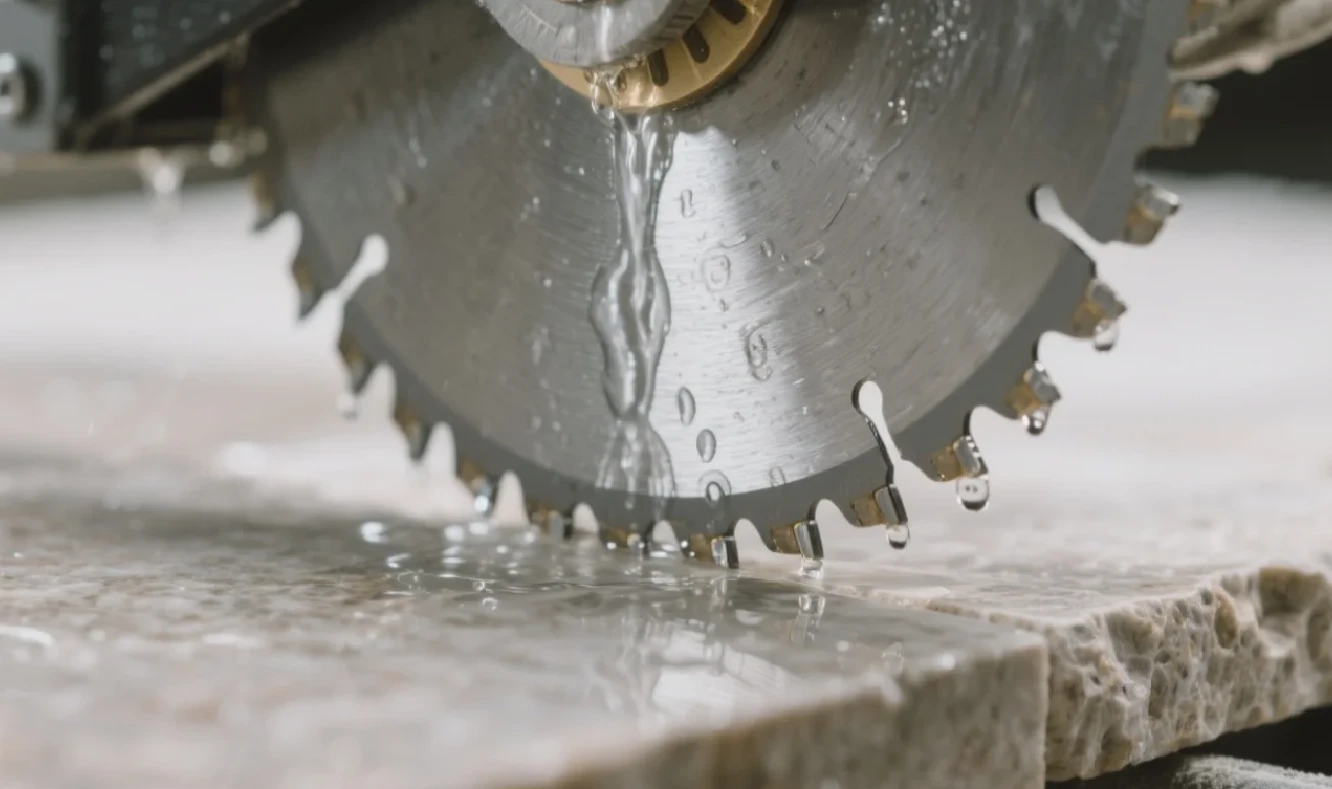 Sep 5, 20257 MIN READ
Eliminate chipping & achieve perfect 45° miter cuts with your manual stone cutter. Our pro guide covers stability, blade choice & a 4-step SOP for flawless results.
One wrong cut = $1,000+ lost. That's the brutal reality every stone fabricator faces when attempting 45° miter cuts with a manual stone cutter.
Right now, fabricators across the country are turning premium slabs into expensive scrap. Why? They think manual miter cutting is about having steady hands.
They're wrong.
Perfect mitered edges come from one thing: an unshakeable system. This guide reveals the exact 4-step protocol that delivers CNC-level precision manually. No guesswork. No waste. Just professional results that separate your work from the competition.
You'll master workpiece stabilization, advanced diamond blade selection, and the precise feed rates that eliminate chipping. Plus, we'll show you exactly when to upgrade to automation for maximum ROI.

In stone fabrication, precision means everything. We're talking fractions of millimeters here. When creating a mitered edge, any error gets magnified instantly. The result? Visible gaps, uneven seams, and work that screams "amateur."
Nearly all miter cutting failures trace back to one issue: lack of stability.
Here's what many believe: a skilled operator can fix minor setup problems with a "steady hand." This is completely wrong when cutting dense materials like granite or quartzite.
The massive forces from your diamond blade will find every weakness in your setup. Microvibrations cause chipping. Blade deflection creates curved cuts. Real craftsmanship happens before you even start cutting – it's all in the preparation.
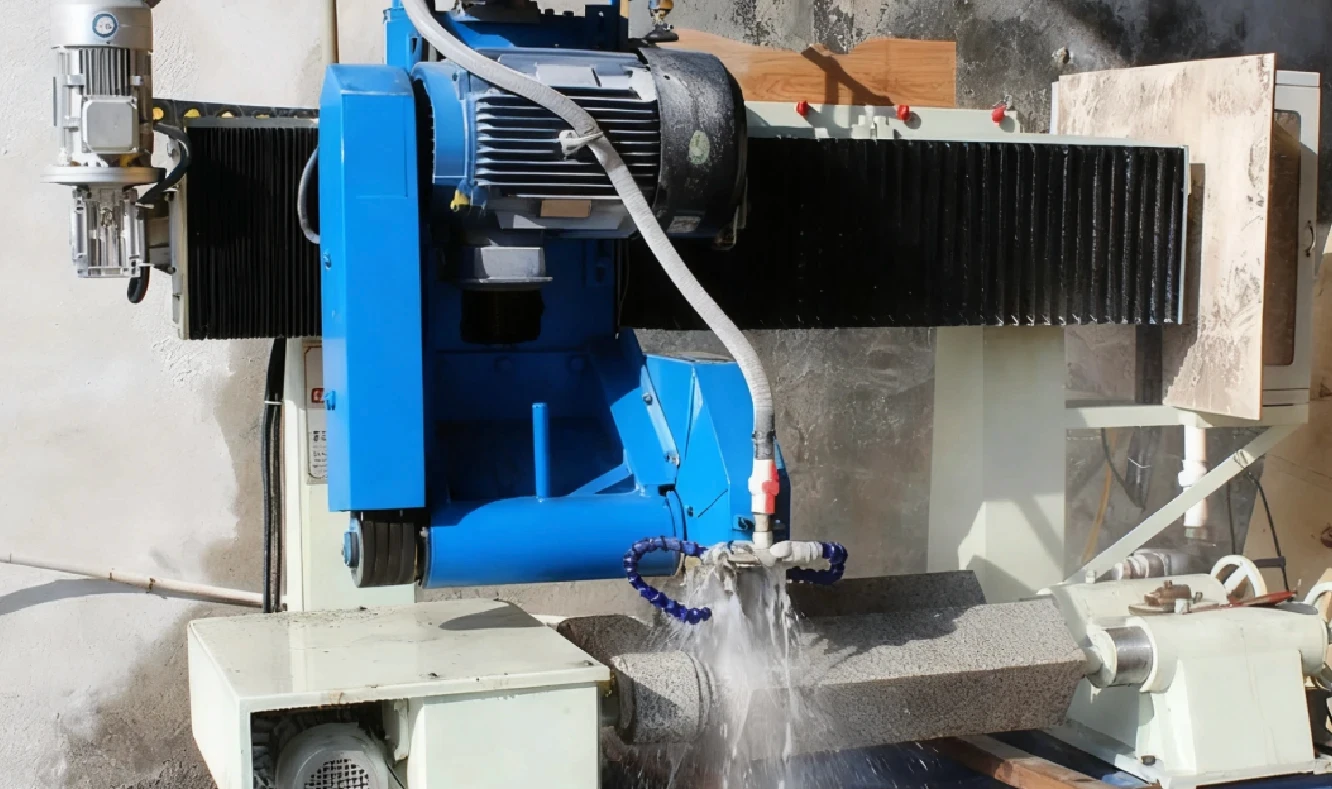
Think of perfect cuts as a chain reaction. Every link must be equally strong. This chain starts with your stone cutting machine's rigid frame and integrated guide rail. It extends to the worktable, includes your slab clamping method, and finishes with external supports for your workpiece.
Break any link? The whole system fails.
Your manual industrial stone cutting machine comes with an integrated guide rail and worktable for solid foundation work. Your job is extending that stability directly to the workpiece.
The slab must become one with your machine's table. Even the tiniest shift during cutting is unacceptable.
When slab dimensions exceed your machine's built-in worktable, you need auxiliary support. Any unsupported overhang will sag under its own weight. This causes curved cuts or blade binding.
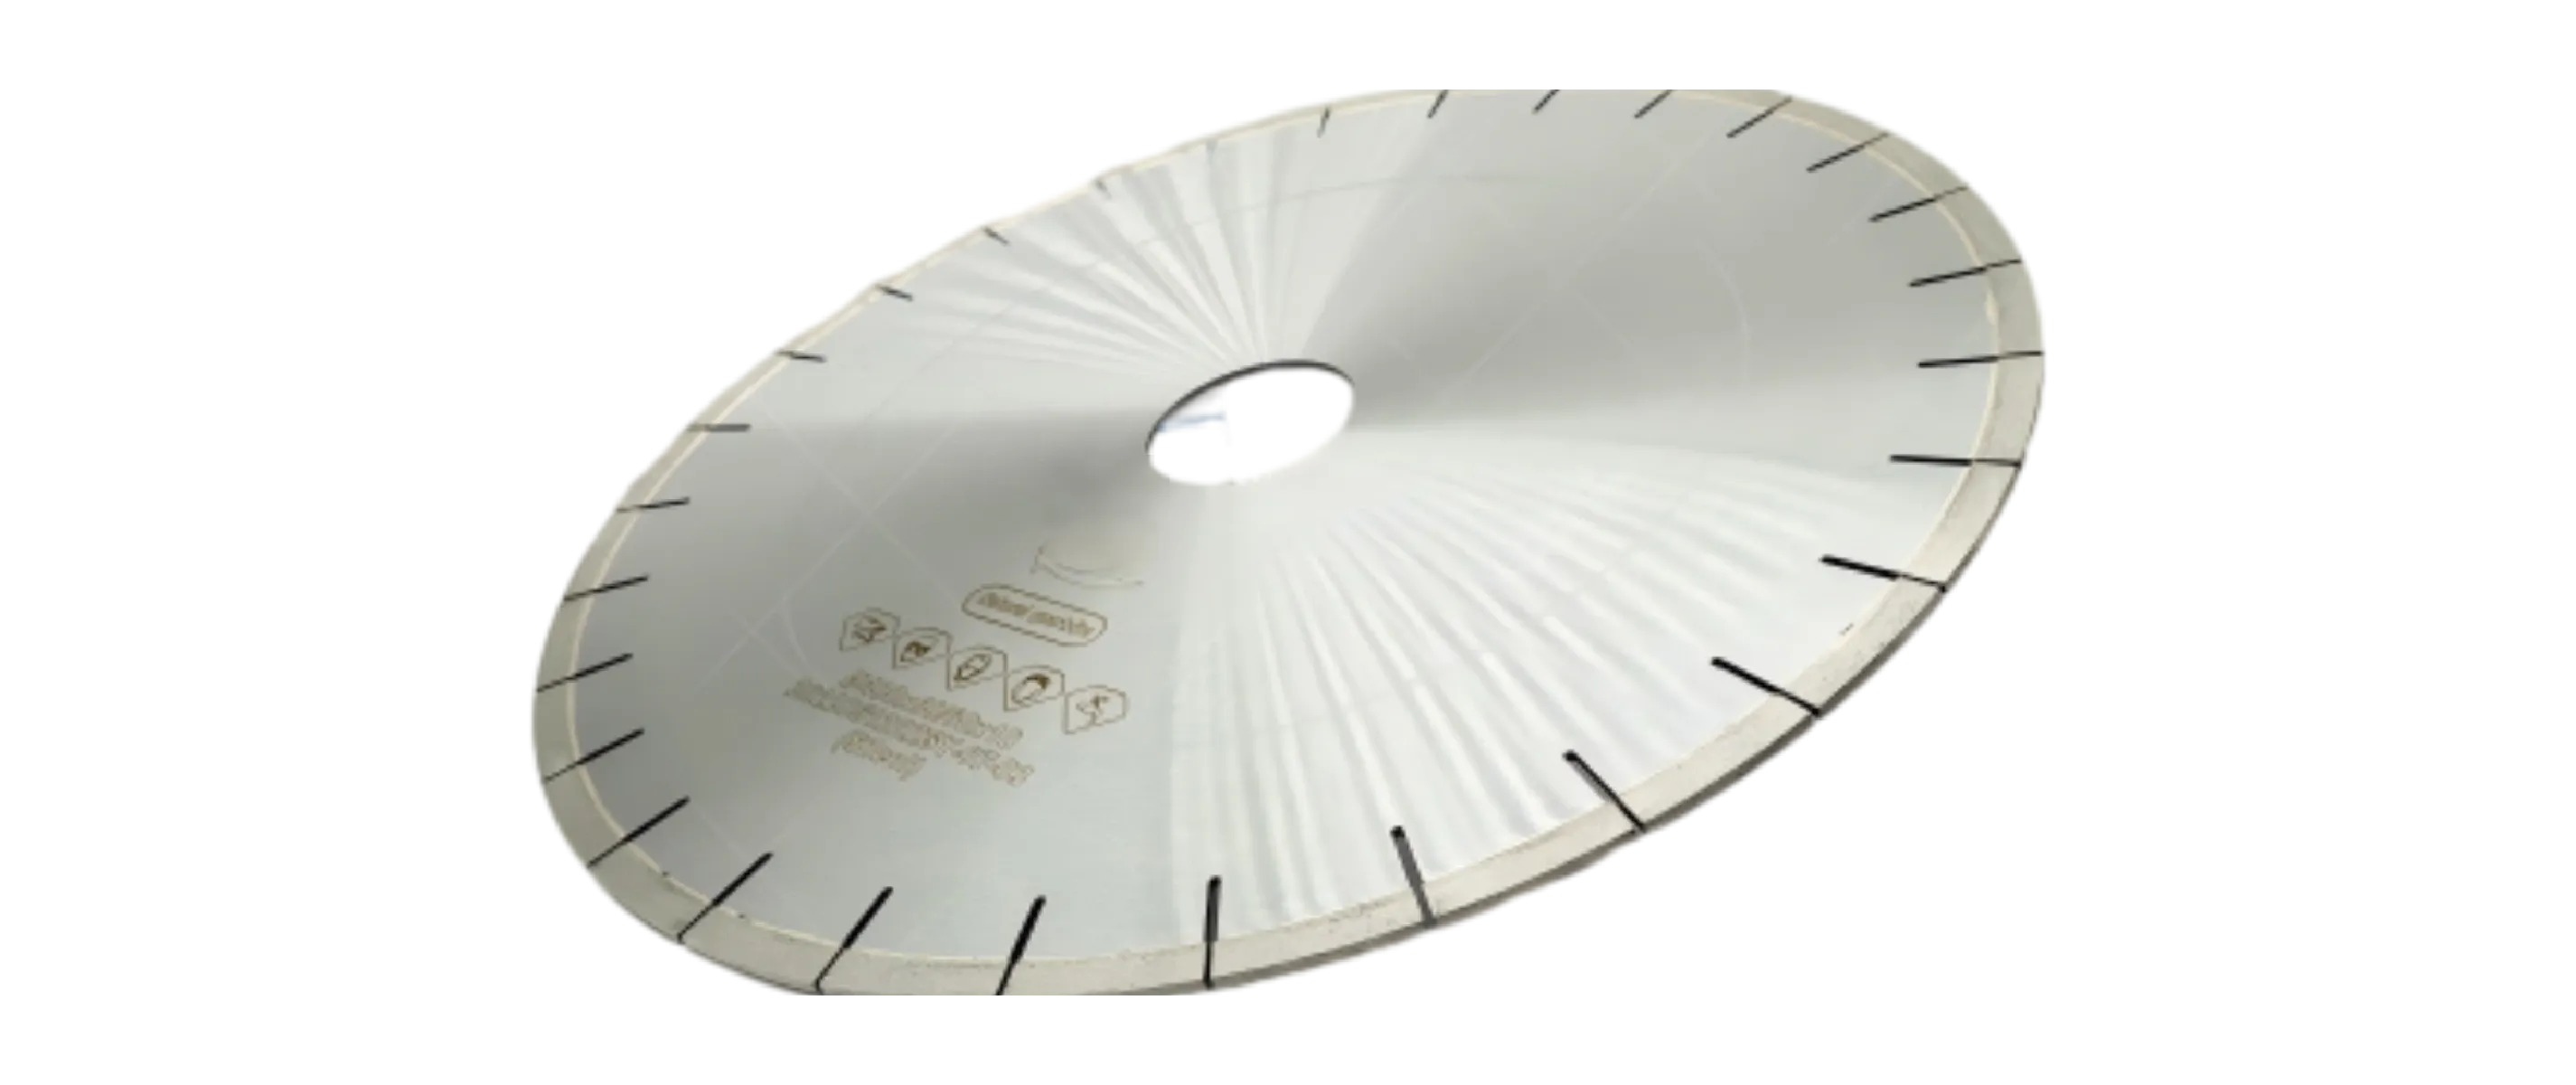
Stable setup means nothing without the right cutting tool. The diamond blade isn't just a consumable – it's the part of your business that turns raw slabs into profit. For demanding 45° miter cuts, generic blades won't cut it.
Miter cuts create immense lateral stress on blades. You need a miter-specific blade engineered to resist these forces. Look for blades with reinforced center flanges – these significantly reduce flex and prevent deflection under load.
Industry publications like Stone World Magazine's fabrication section consistently highlight application-specific tooling as a key driver of efficiency and quality.
Before critical cuts, use the professional technique called "dressing the blade." Run your blade through soft, abrasive material like concrete pavers or specialized dressing stones for a few seconds.
This removes glazed-over bonding material and exposes fresh, sharp diamond particles. The result? Dramatically improved cutting speed and reduced chipping risk.
Follow this Standard Operating Procedure for consistent, high-quality results every time.
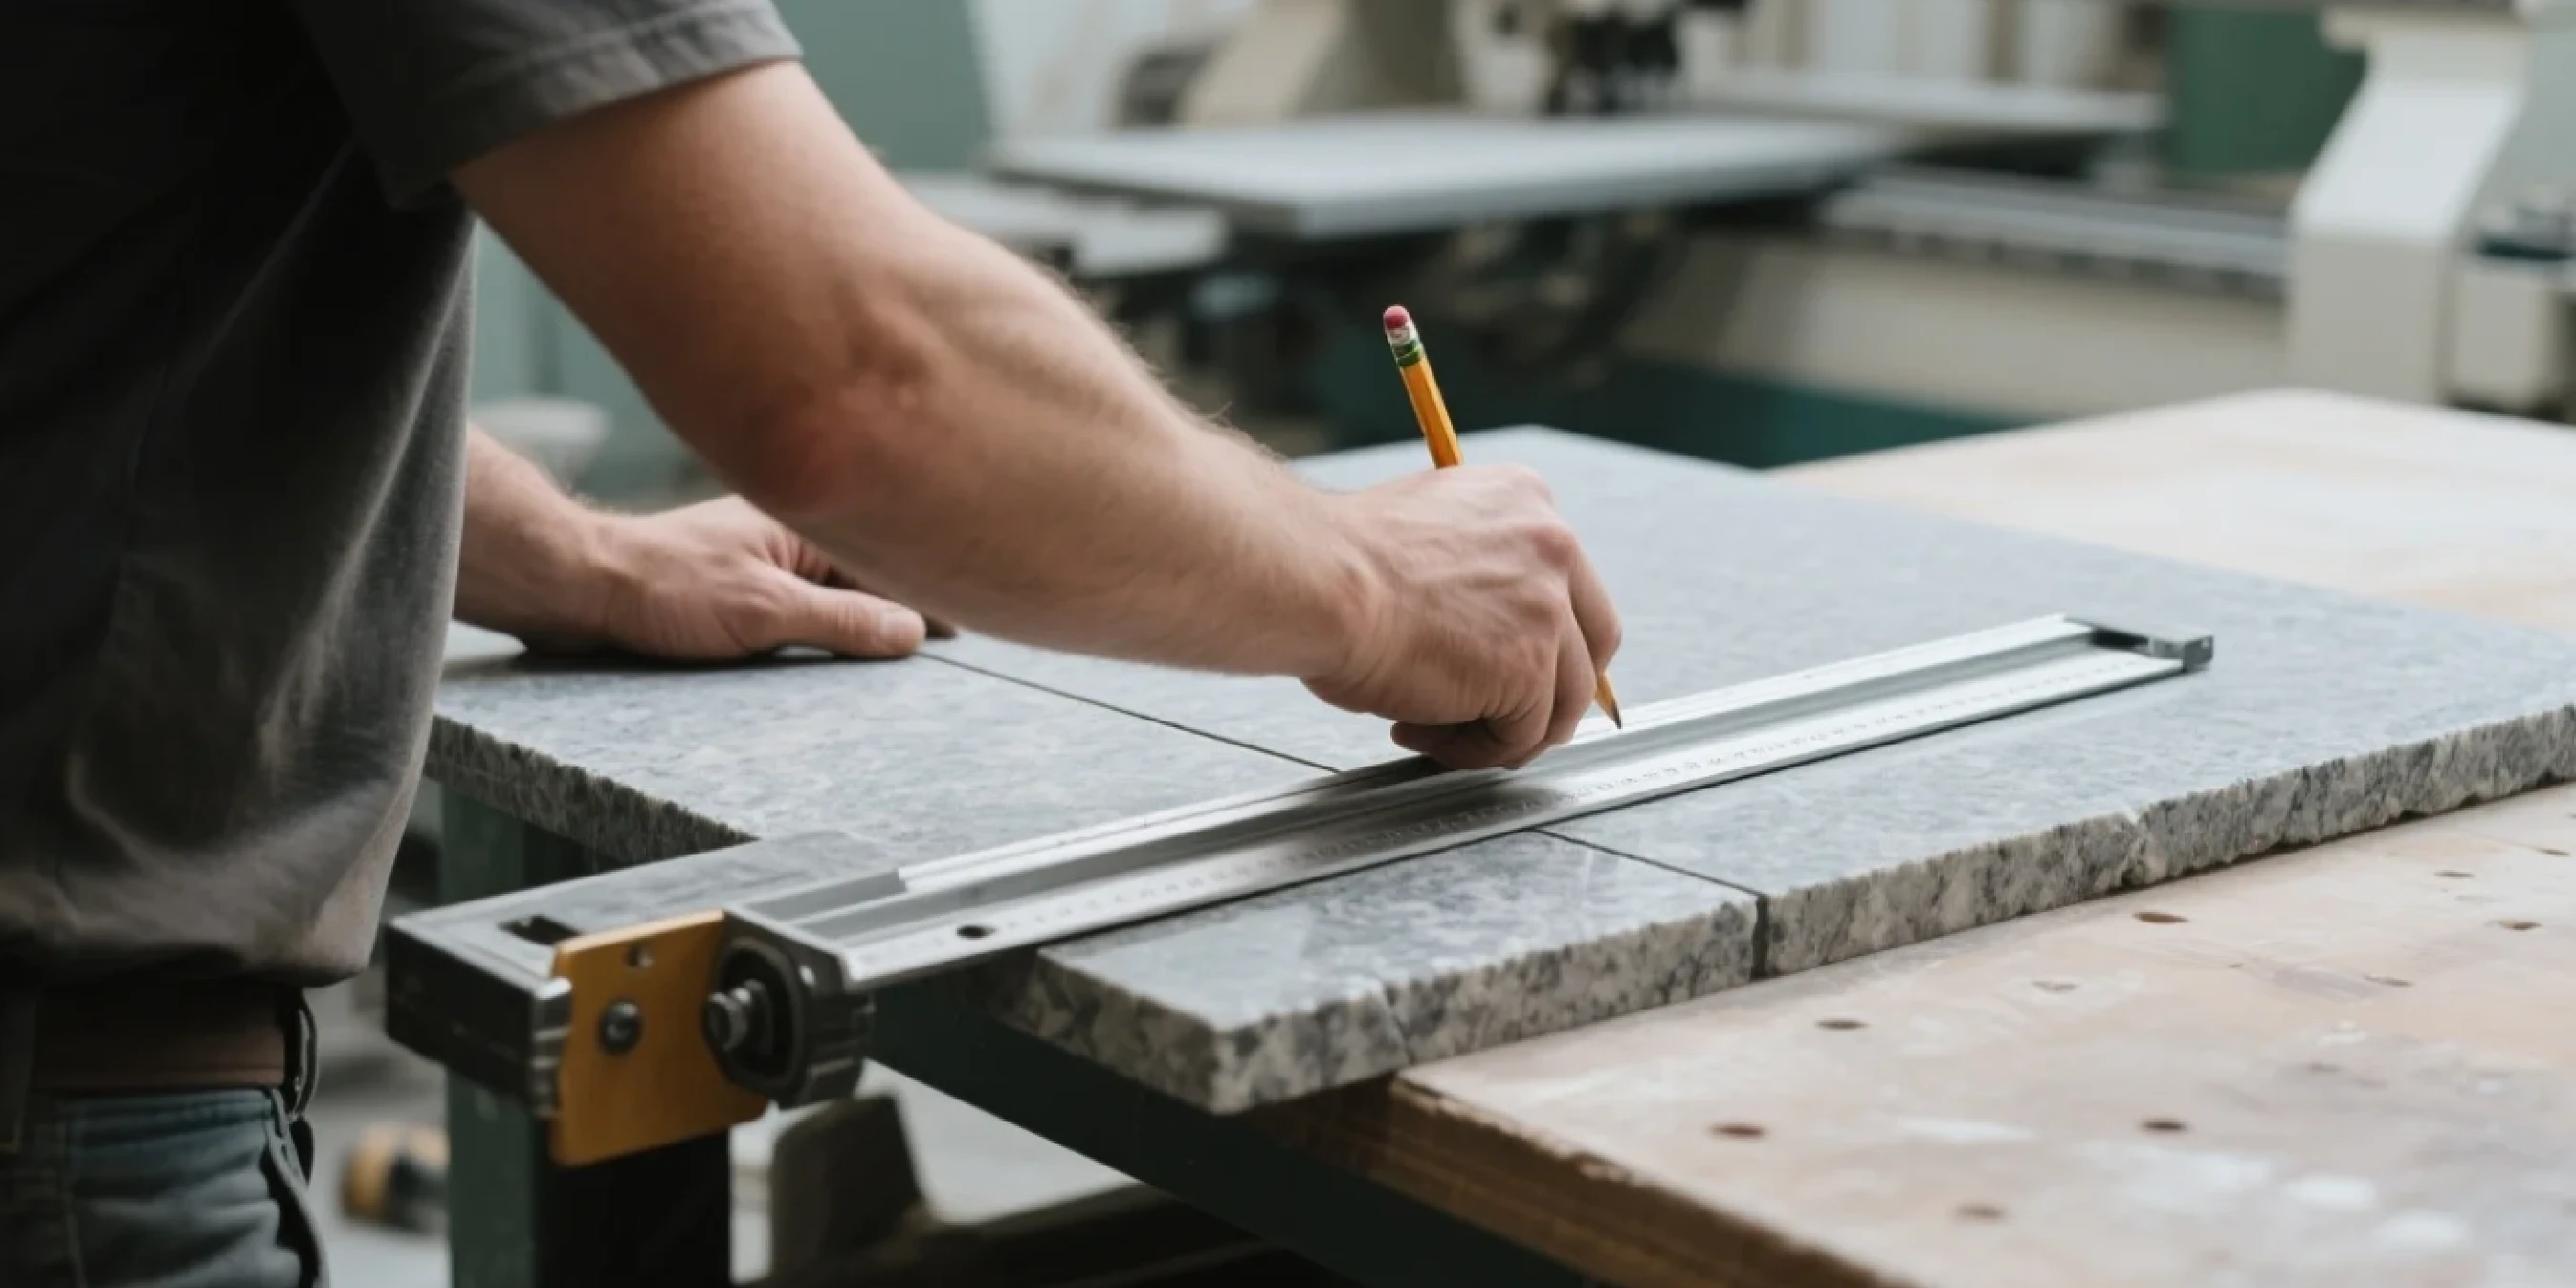
Before placing your slab, verify your machine's cutting angle. Built-in guides are good starting points, but always double-check with a high-precision digital angle gauge.
Calibrate your cutting head to true 45.0° for perfect joints. Once calibrated, secure your slab to the worktable and set up auxiliary supports as described in Rule #1.
This technique is crucial for brittle or high-stress materials.
With your cutting head moving along the fixed rail, your control focuses on feed rate.
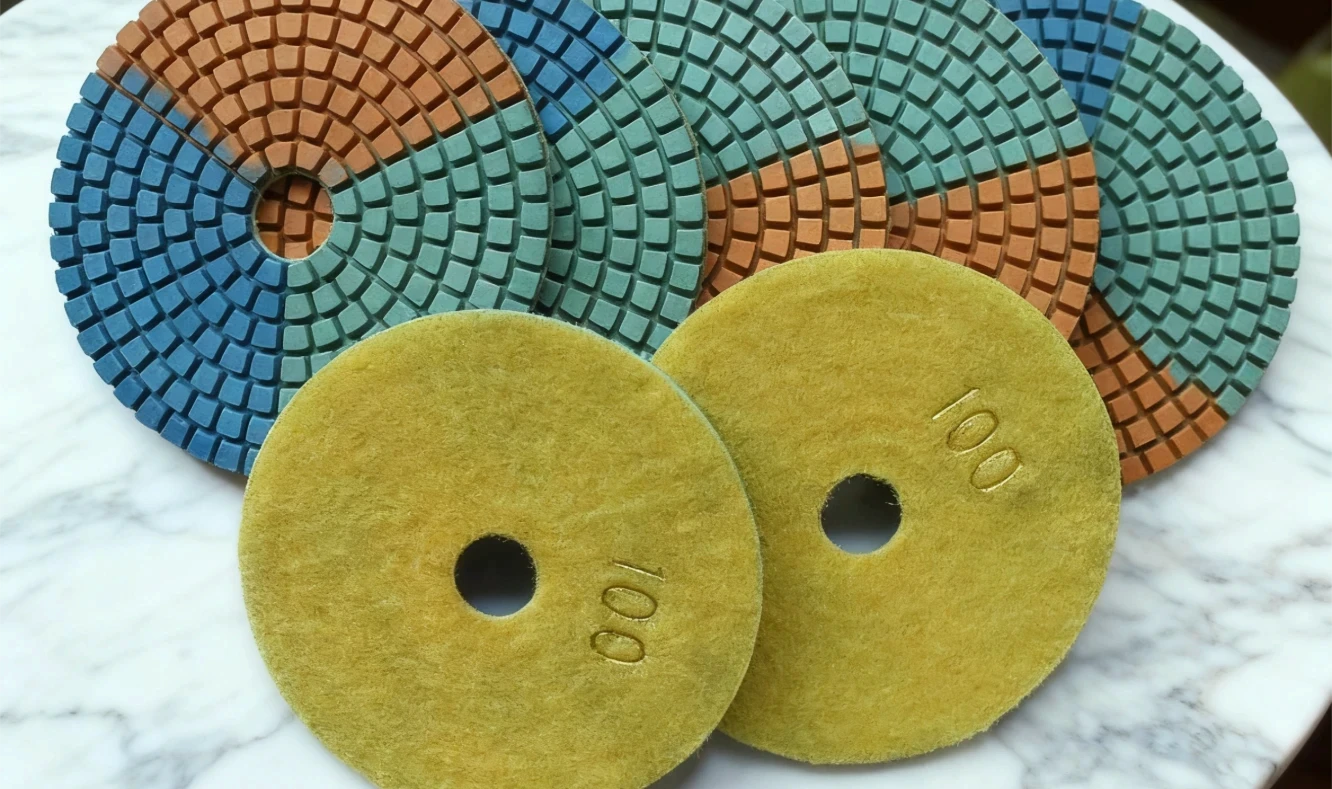
Once cutting is complete, your edge is sharp and fragile. Use a 400-grit diamond hand pad to gently break sharp corners on both the top face and mitered face.
This slight "honing" removes micro-chips and creates more durable edges that fit together perfectly during glue-up.
Struggling with a specific material? Get a free blade recommendation from our experts on WhatsApp now.

Not all stones are created equal. High-value materials demand specific approaches.
Quartzite is notoriously difficult to cut without chipping. Its high density and internal stresses from geological compression create unique challenges. For quartzite, the Two-Pass Cut isn't optional – it's mandatory.
Use a blade specifically designed for quartzite and reduce your feed rate by 20-30% compared to granite.
Sintered stones (like Dekton) are extremely hard but very brittle, making them prone to fracturing. Material manufacturers like Cosentino's technical documents for Dekton emphasize that continuous rim blades and slow, steady cutting processes are essential.
Absolute slab support along the entire cut length is critical for preventing vibration and stress fractures.
For deeper insights into material fracture science, check out our guide on what causes chipping in granite & quartzite for technical details.
Mastering the manual stone cutter is invaluable. But as your business grows, its limitations in speed and volume become apparent.
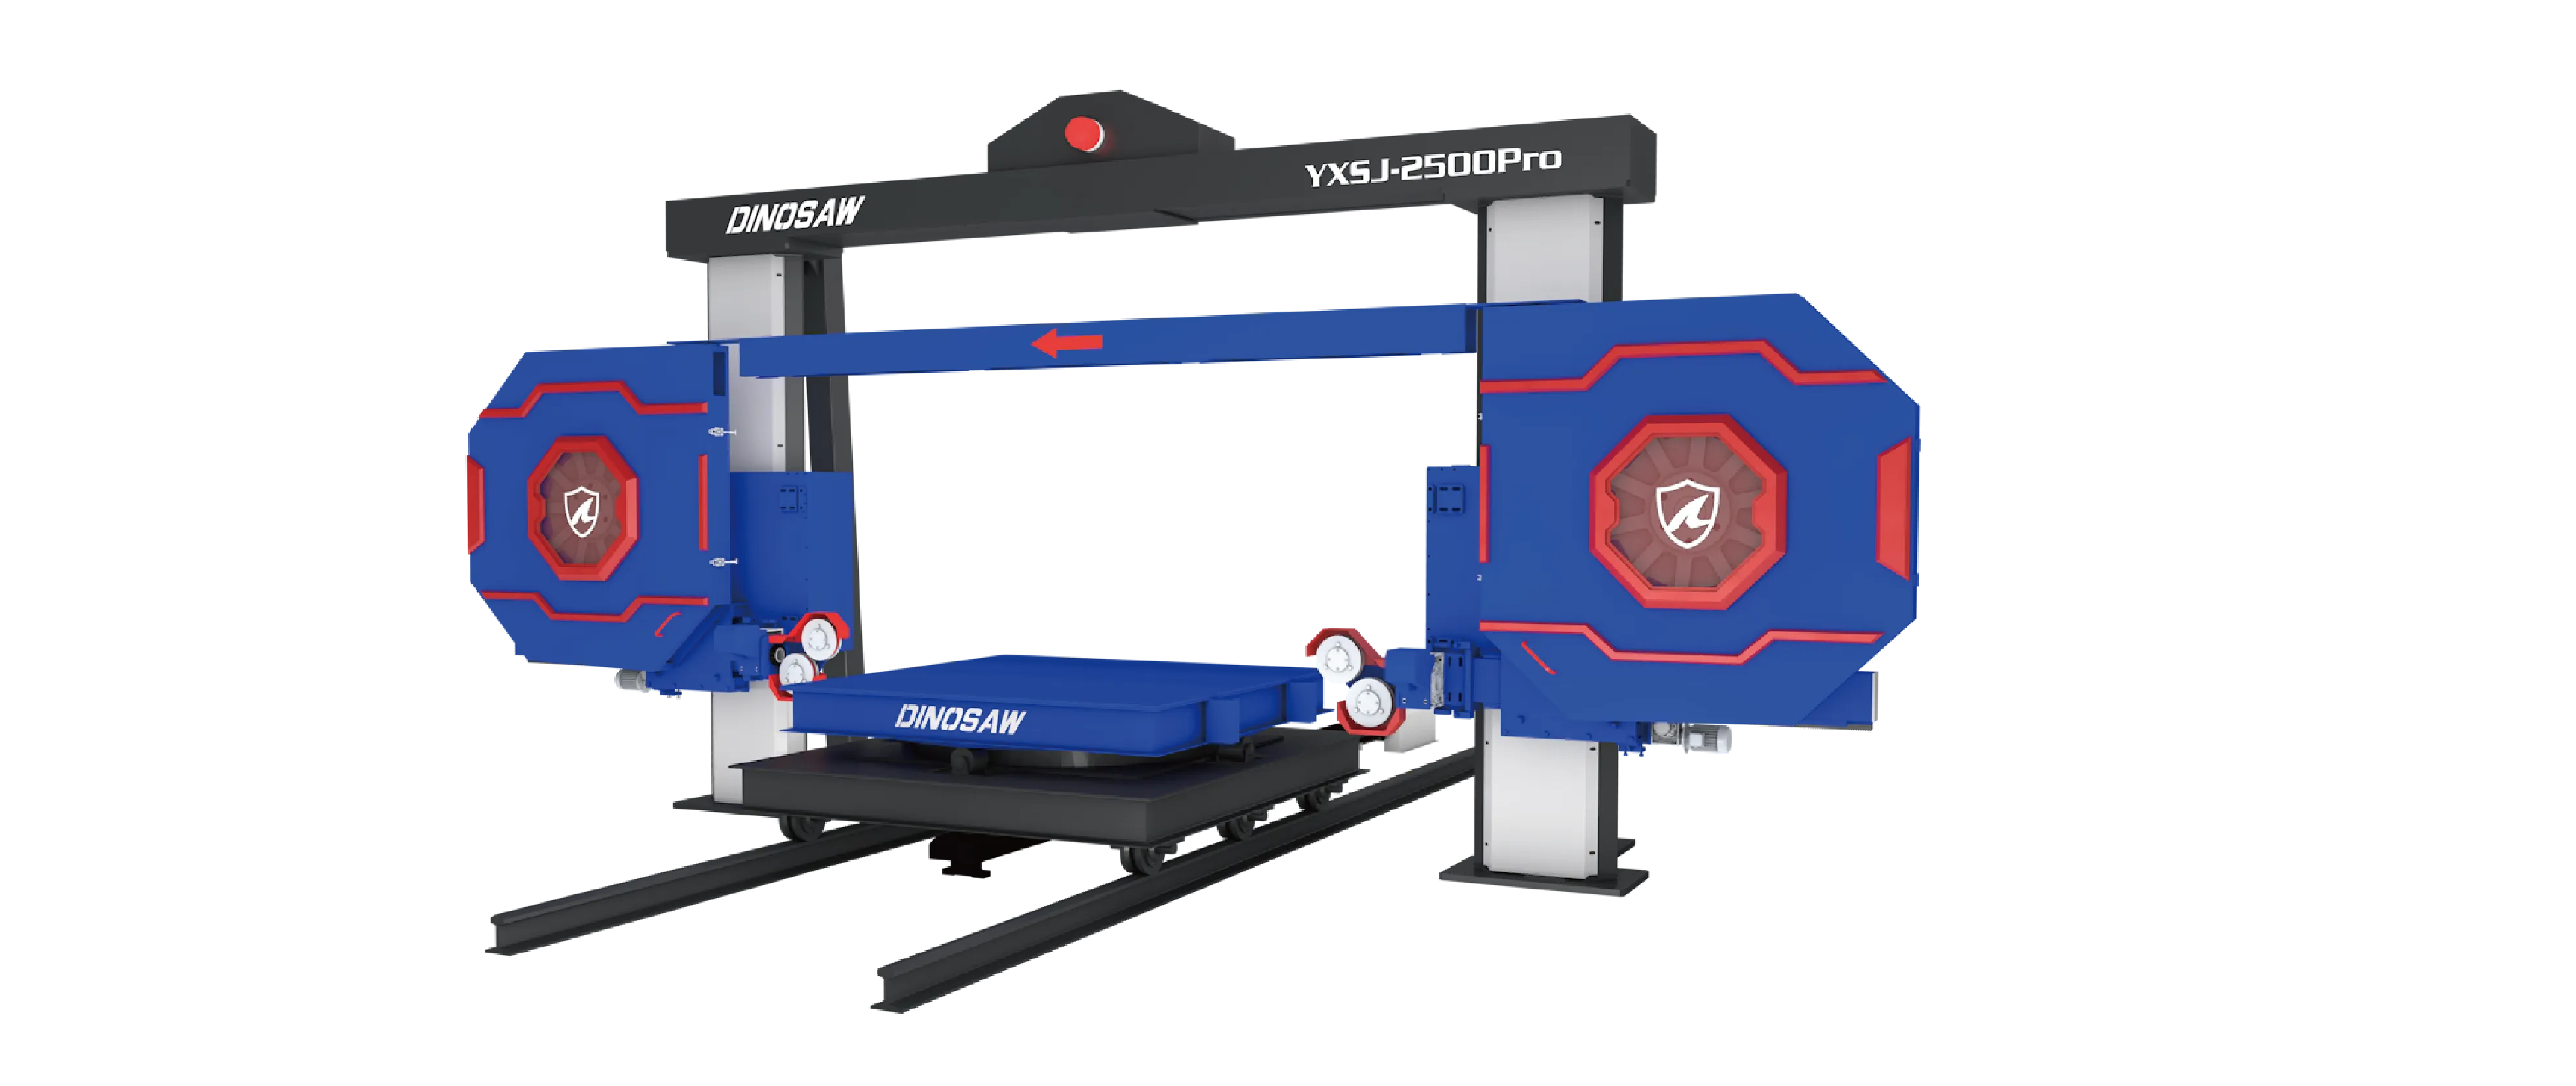
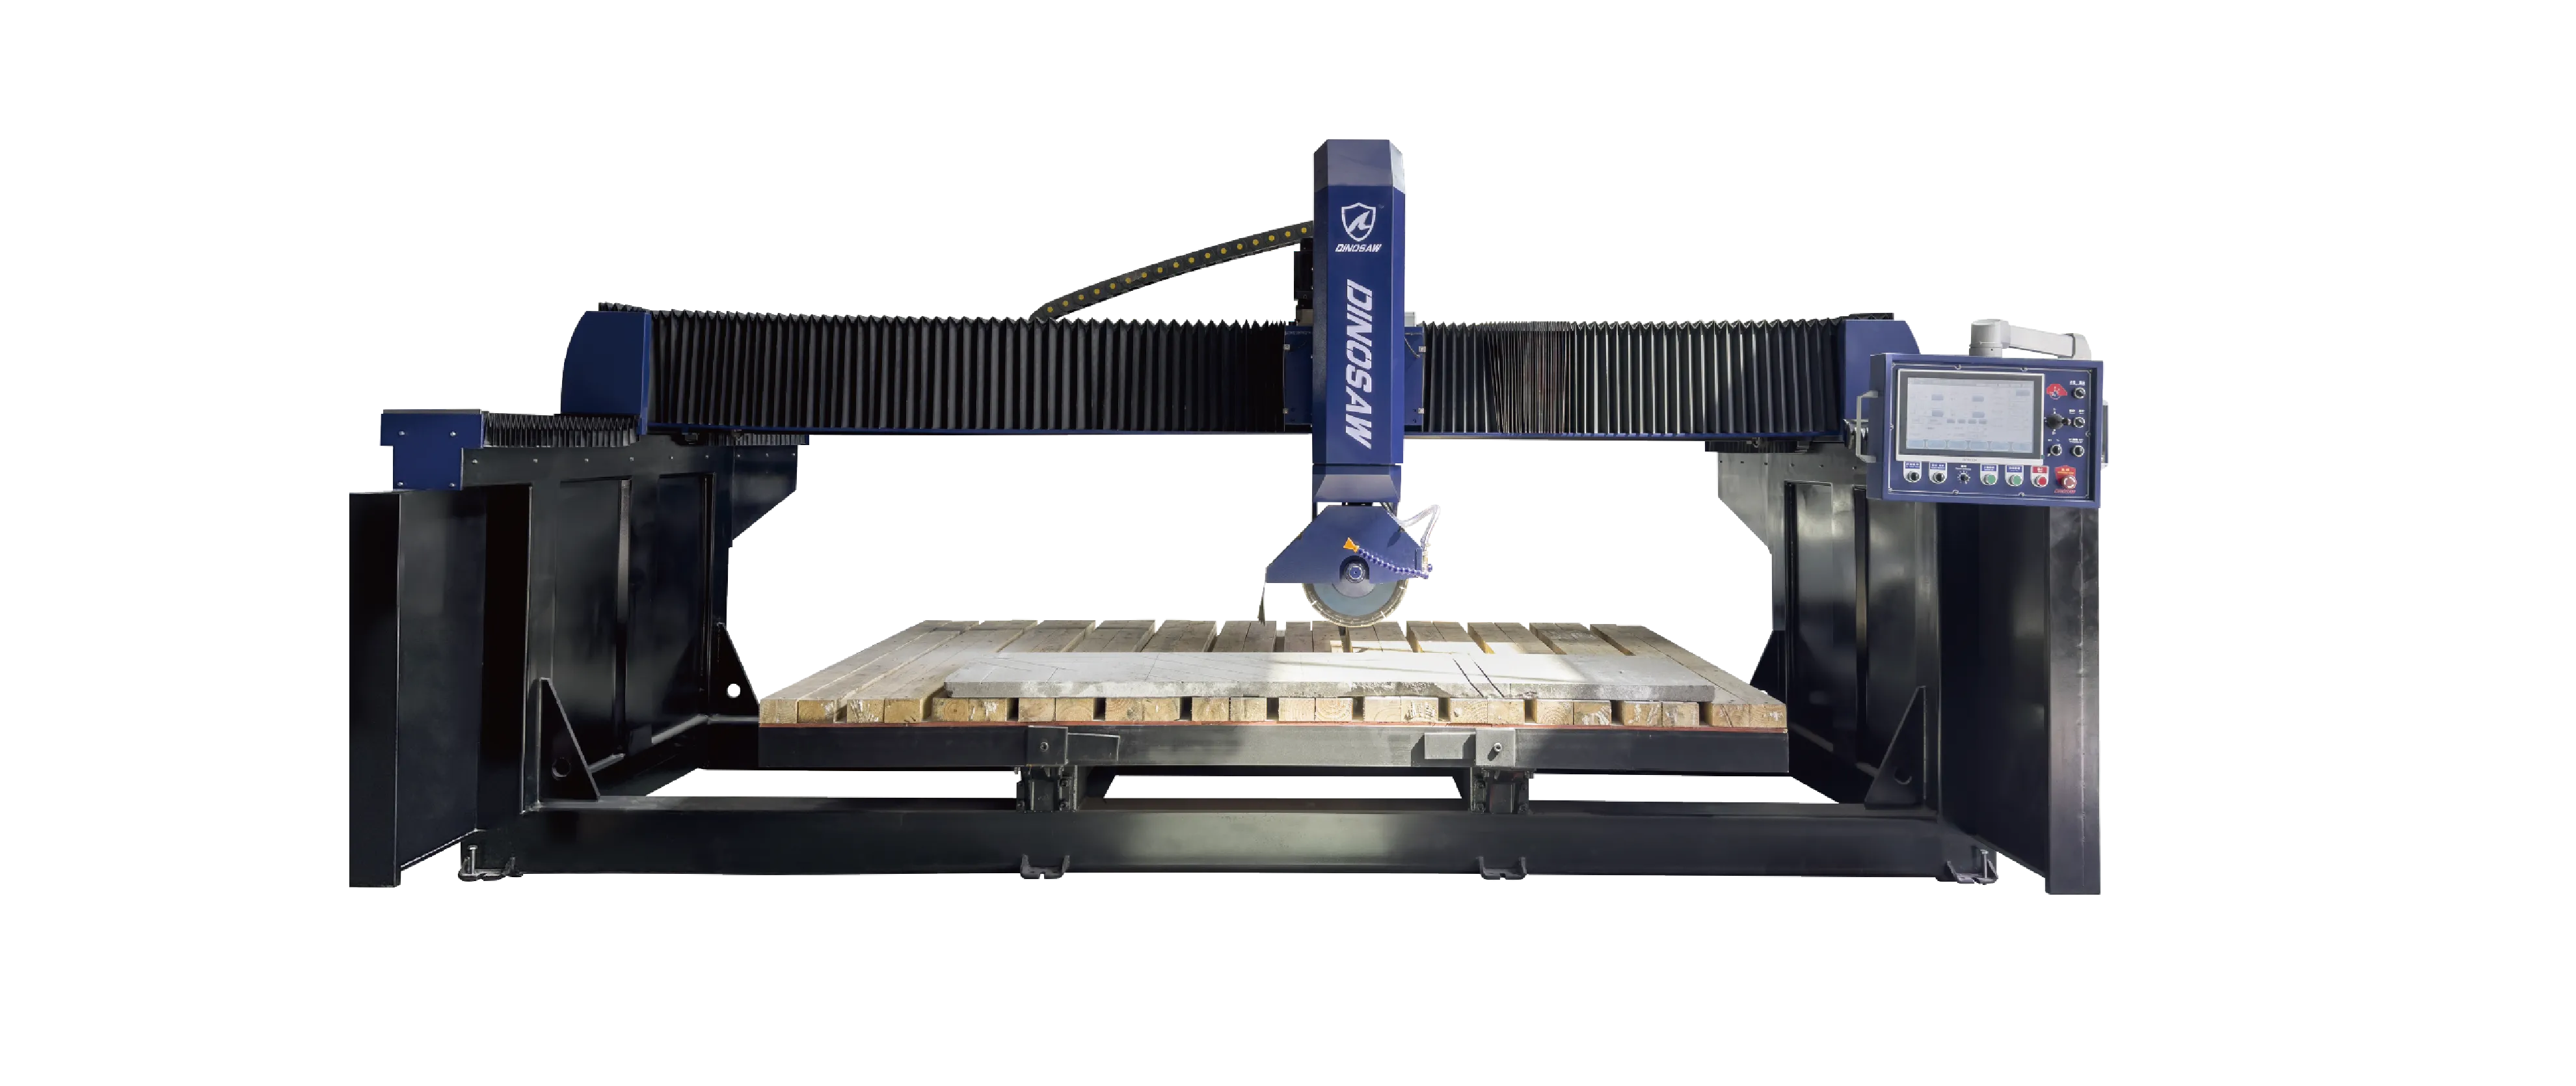
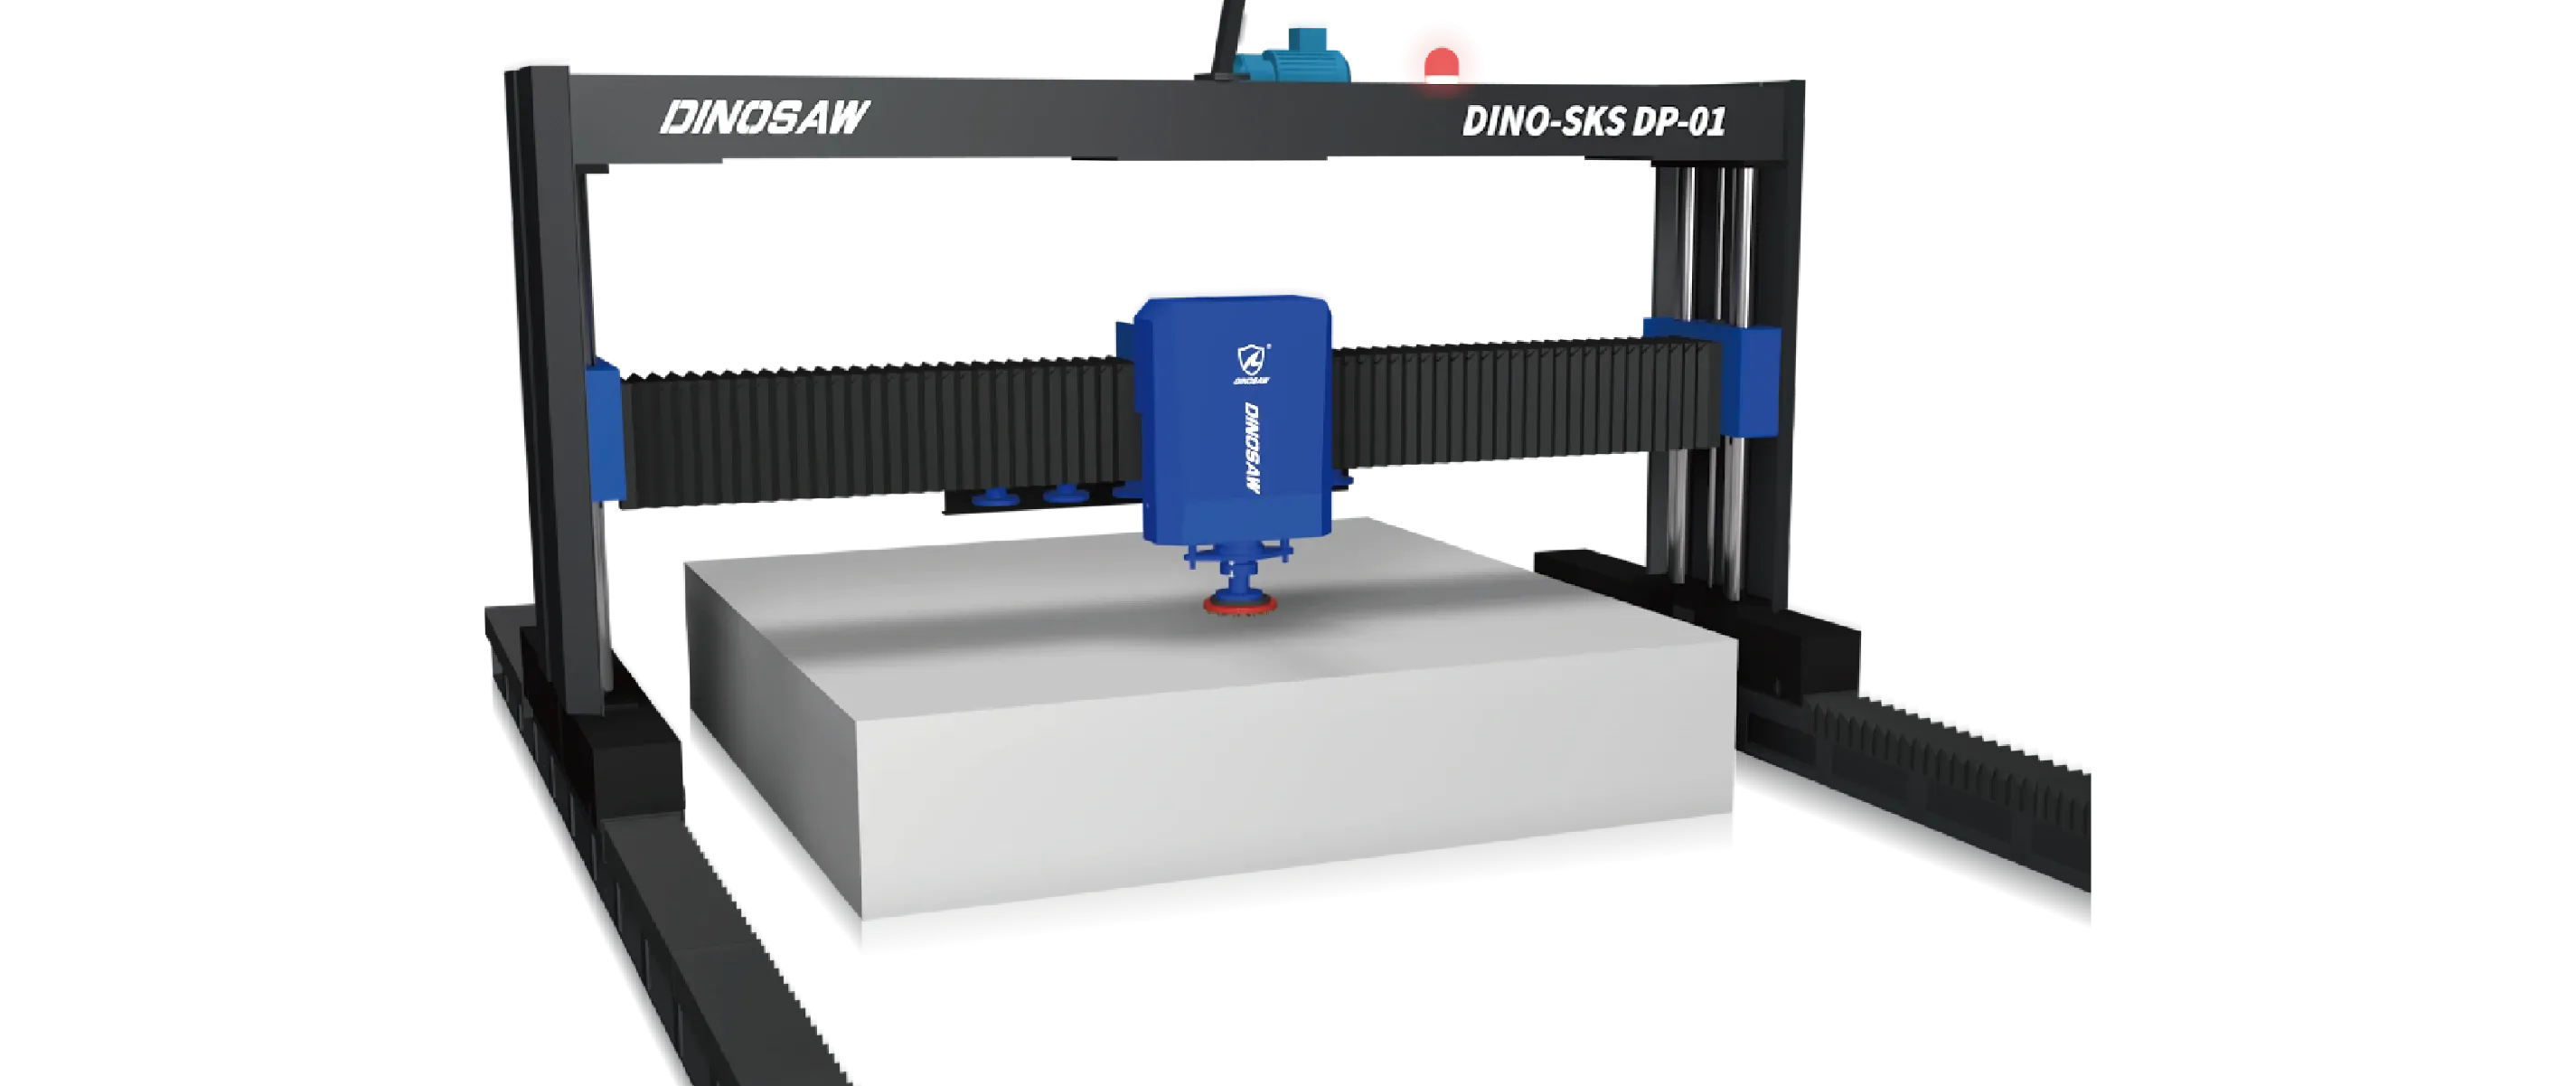
When you're facing increasing demand for mitered edges, working with large-format slabs, or frequently processing difficult materials, it's upgrade time. A CNC stone bridge saw automates the entire cutting process.
With programmable angles and powerful, stable gantry systems, it delivers flawless, repeatable miter cuts in a fraction of the time. This frees up skilled operators for other high-value tasks – the logical next step for serious fabrication shops scaling production and profits.

Achieving perfect miter cuts with a manual stone cutter directly reflects your workshop's commitment to quality. It's built on unshakeable stability and refined through expert technique.
By implementing workpiece stabilization rules and following the 4-step cutting protocol, you eliminate costly errors and produce high-end results that attract premium clients. The global countertops market, estimated at USD 112.5 billion in 2023 , shows clear demand for quality work.
At Dinosaw, we believe in empowering partners with superior machinery and knowledge to maximize its potential. The techniques in this guide, combined with our range of Diamond Tools , will elevate your manual cutting capabilities. When you're ready for the next step, our team is here to guide you.
Ready to maximize your shop's efficiency? Talk to a Dinosaw specialist on WhatsApp for a no-obligation consultation on our manual or bridge saw solutions.
The best choice is a continuous rim or "J-Slot" blade with reinforced center flange. These designs provide the smoothest cuts with minimal chipping. The strengthened core prevents blade flexing during 45-degree angled cuts, which is critical for maintaining straight lines on dense materials like granite and quartz.
Always use a diamond core bit to drill out corners before completing straight cuts. This creates rounded relief points that distribute stress. After the main cutout, use a diamond finger bit to shape corners to precise radius, ensuring smooth, crack-free finishes that align with Natural Stone Institute's technical resources standards.
Burnt or glazed appearance comes from excessive heat friction. This typically happens for two reasons: inadequate water supply failing to cool the blade and stone, or using dull blades whose diamond particles are worn down. Ensure robust water flow and "dress" your blade on abrasive stone to expose fresh cutting surfaces.
There's no universal speed – it depends on specific granite density and blade quality. A good starting point is slow, steady feed rates of approximately 1-2 meters (3-6 feet) per minute. Listen to your saw's motor; if it strains, you're pushing too fast. Consistent, smooth grinding sounds indicate optimal rates.
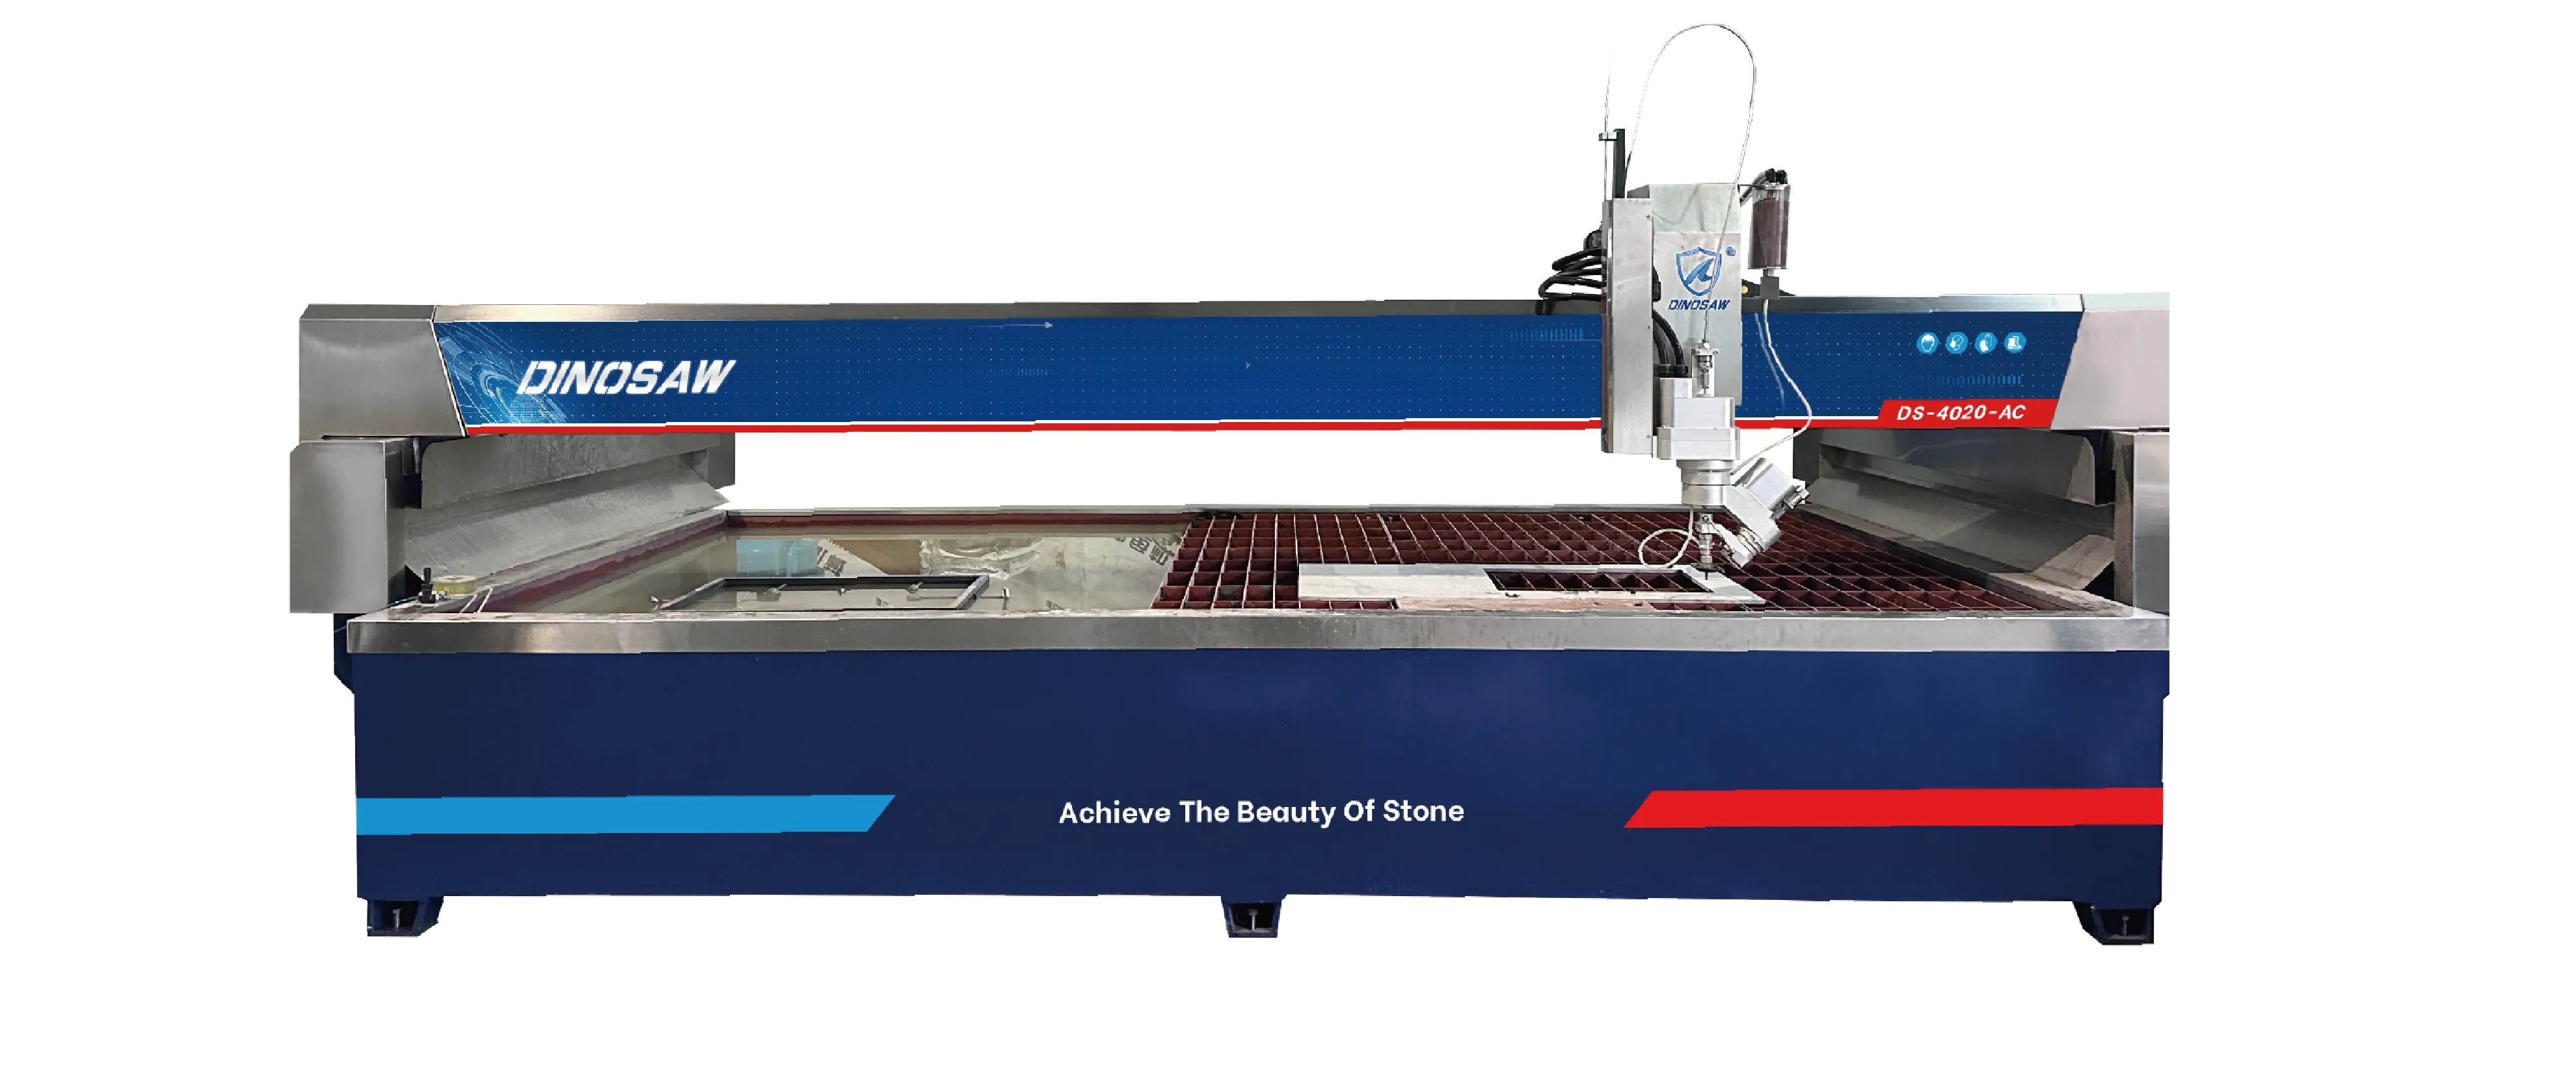
Yes, wet cutting is absolutely essential for professional miter cutting on natural stone or quartz. Wet cutting drastically reduces heat, preventing blade damage and eliminating burn marks on stone. Most importantly, it suppresses hazardous crystalline silica dust – a practice mandated by safety organizations like OSHA to protect operator health.
While possible, it's not recommended for optimal results. Granite is much harder and requires blades with hard-bonded matrix to control diamond erosion. Marble is softer and cuts best with soft-bonded blades allowing faster exposure of new diamonds. Wrong blade choices lead to slow granite cutting or rapid blade wear on marble.
Perfectly level seams start with perfectly flat slabs and perfectly straight cuts. After cutting, perform a "dry fit." Place both pieces together on a level surface. Any rocking or gapping may indicate slight slab warp or slight curve in your cut. This often results from blade deflection, reinforcing the need for high-quality, rigid blades.
 English

Get A Easy Solution
Chat Online
Hi, this is Lizzy from Dinosaw ( Not a Robot ). Which Machine ( model ) do you want? Please WhatsApp us now
Hello 👋 How can we help?