


Ms.Lizzy
Hi, this is Lizzy from Dinosaw ( Not a Robot ). Which Machine ( model ) do you want? Please WhatsApp us now
Open Hours:8:30am-20:30pm
WhatsApp: +86 198-5901-3937
Open Hours:
8:30am-20:30pm
 Oct 11, 20256 MIN READ
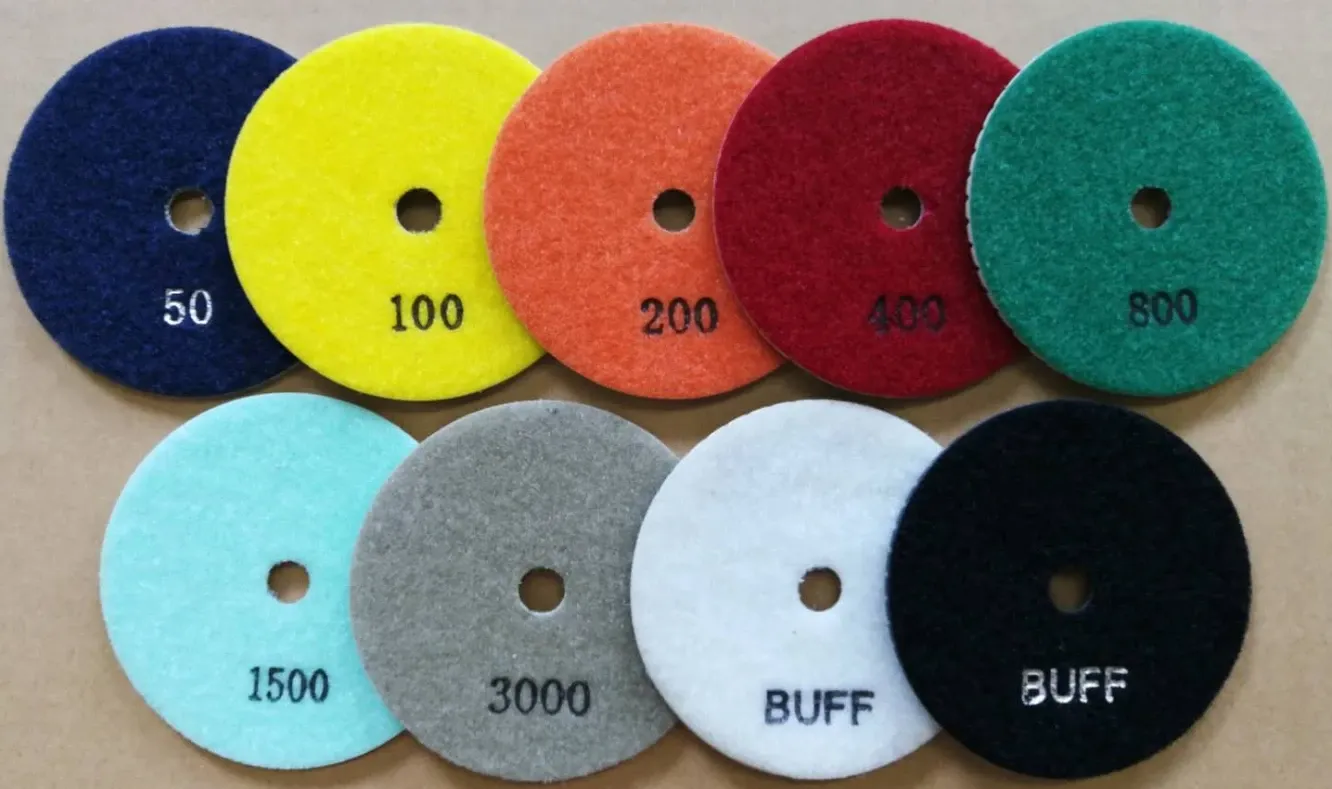 Oct 11, 20256 MIN READ
Cut cycle time and improve finish consistency with diamond polishing pads for granite, marble, and concrete. Dry/wet options, grit ladders, and quick-change backing.
Yes—you can polish granite, marble, and concrete cleanly and fast. The key is using engineered diamond pads to set up your passes correctly and avoid rework. Unlike generic abrasives that lead to long cycle times and inconsistent gloss, diamond pads deliver uniform finishes, cleaner edges, and faster changeovers.
Talk to our team for pad selection, a sample run, and pricing to see the difference for yourself.
These pads are more than just a consumable; they are a critical component in your workshop's workflow. By integrating a structured Diamond Polishing Pad system, you can significantly reduce the time spent on finishing, minimize costly errors, and produce reliably superior surfaces. Let's explore what these pads can do for you.
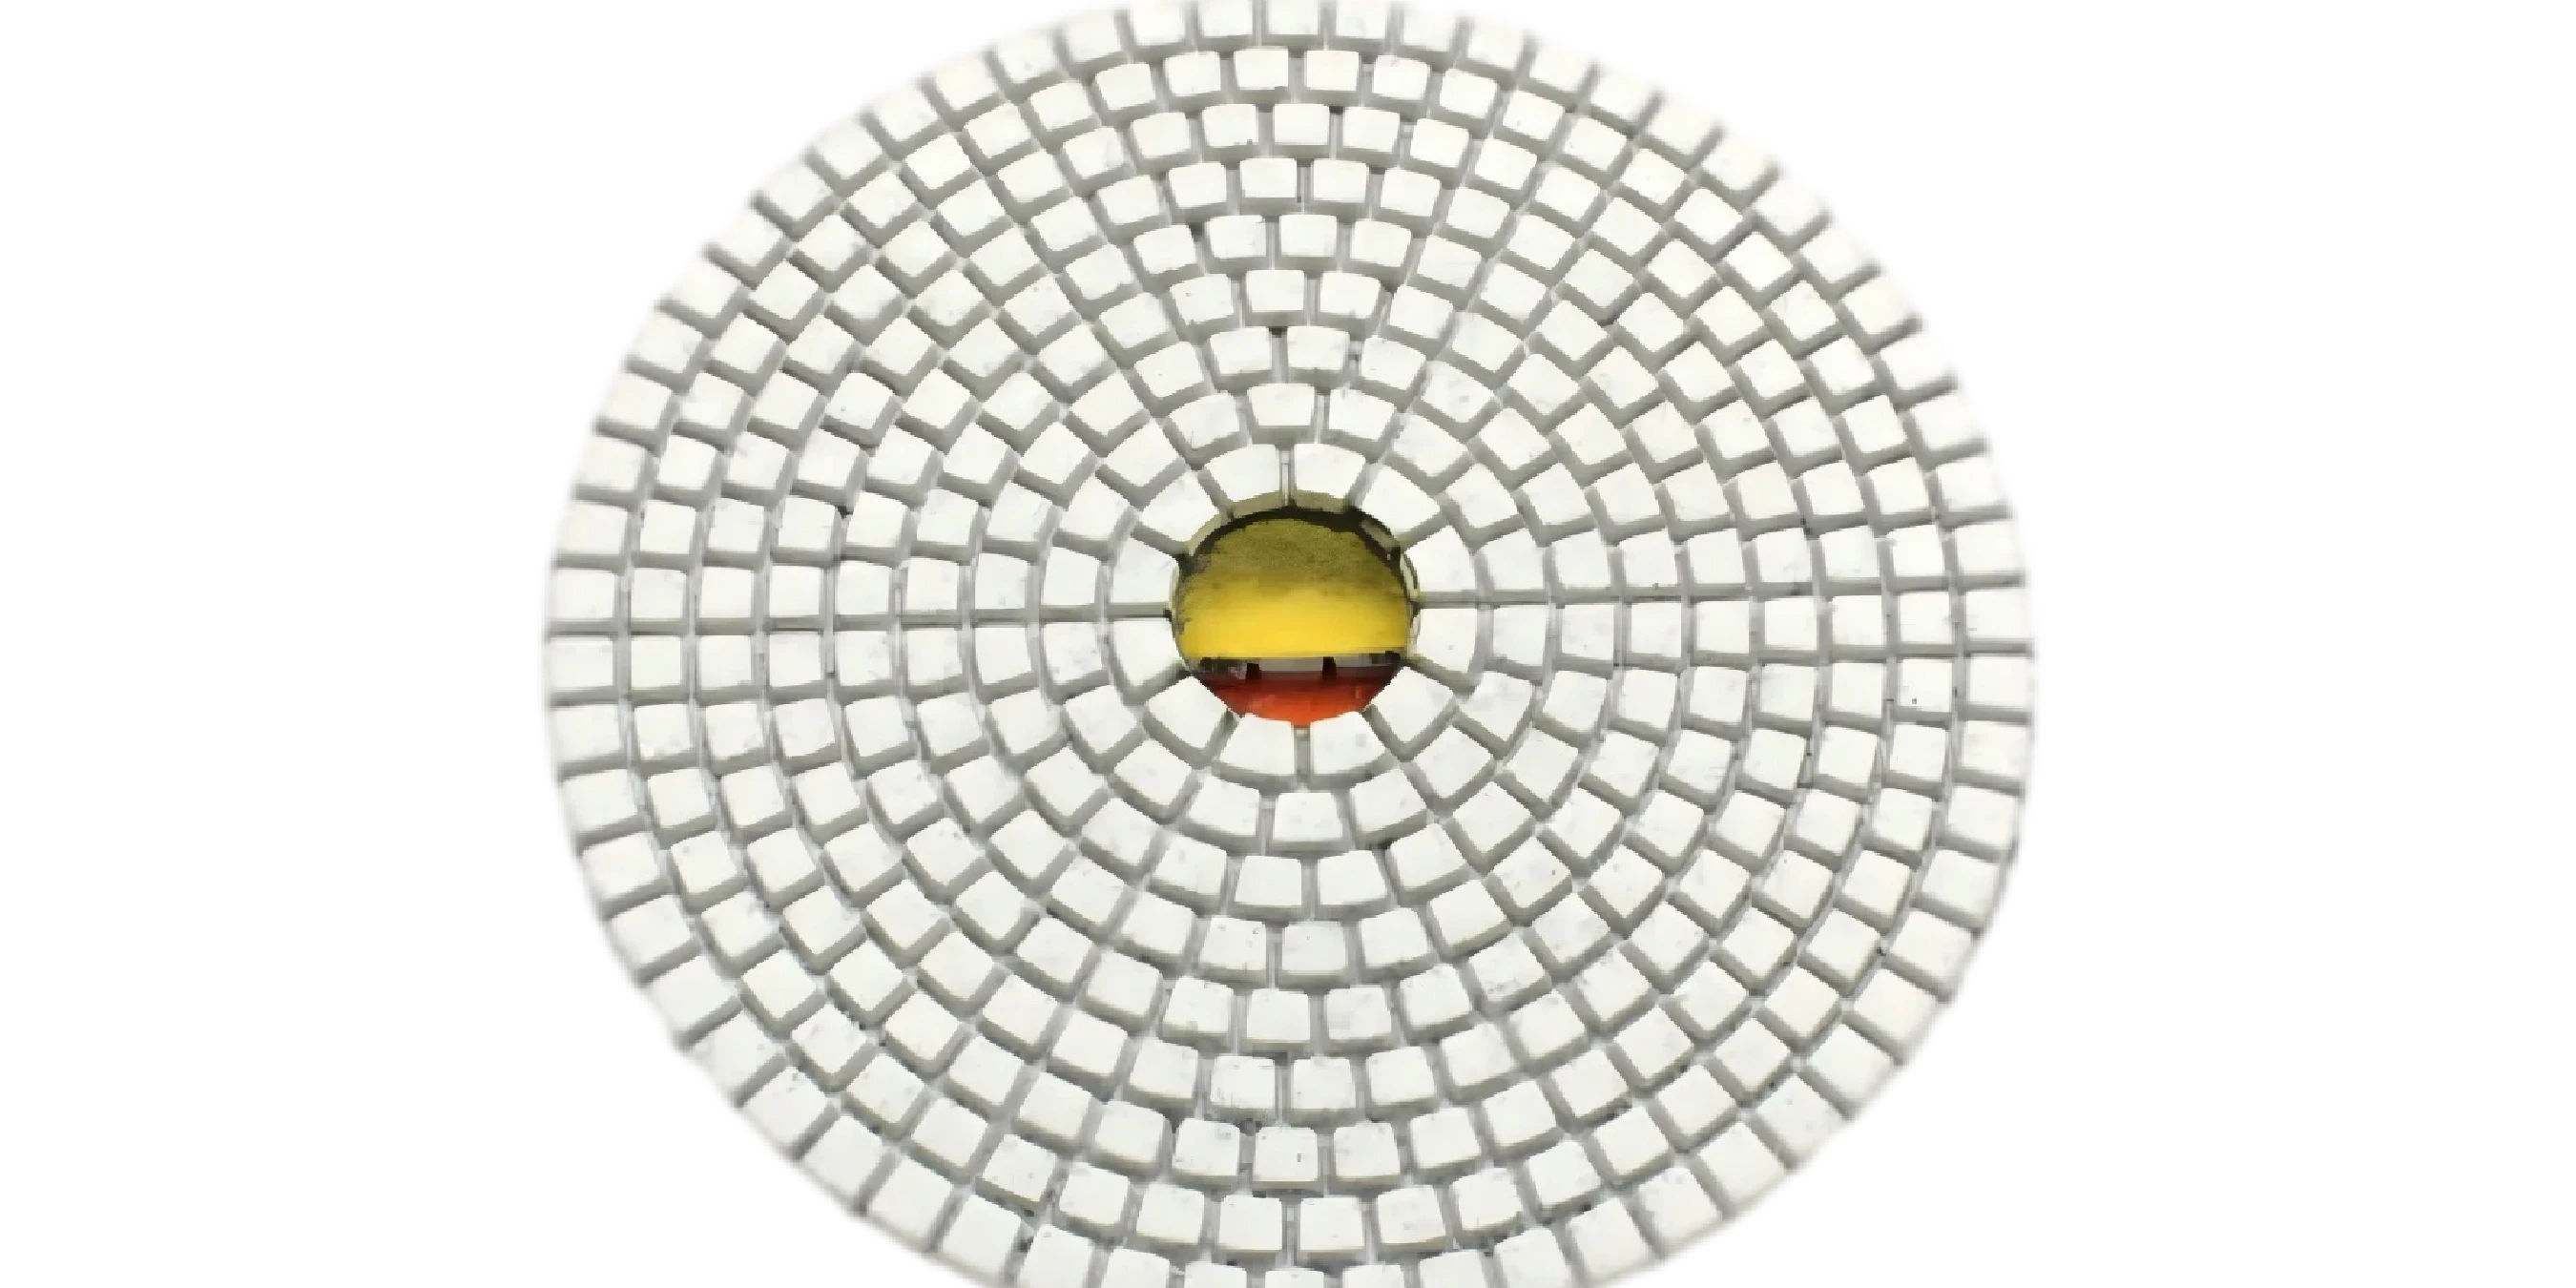
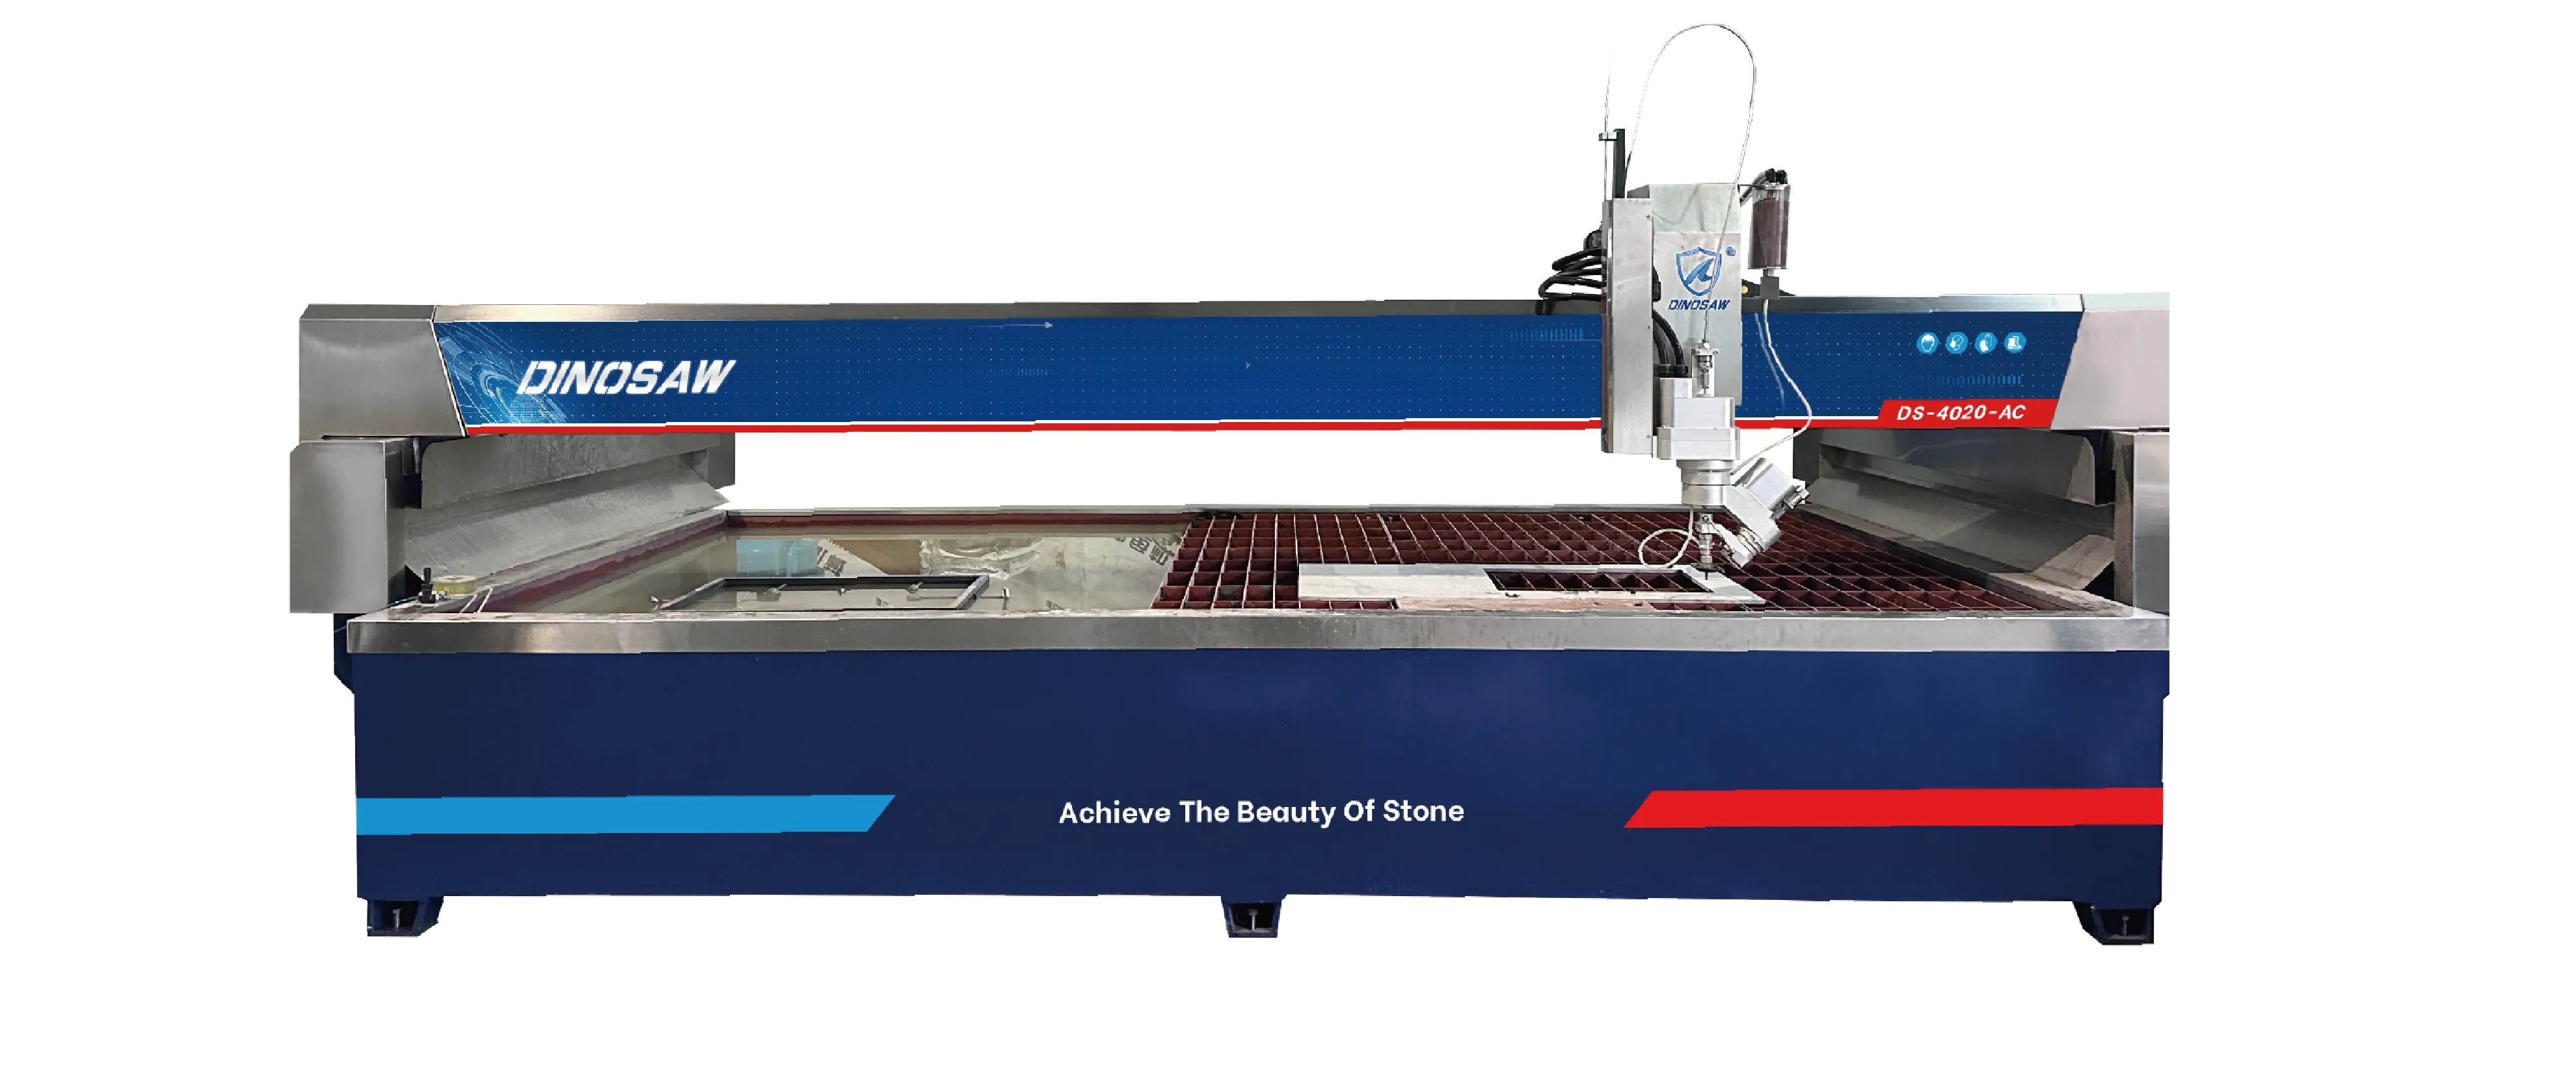
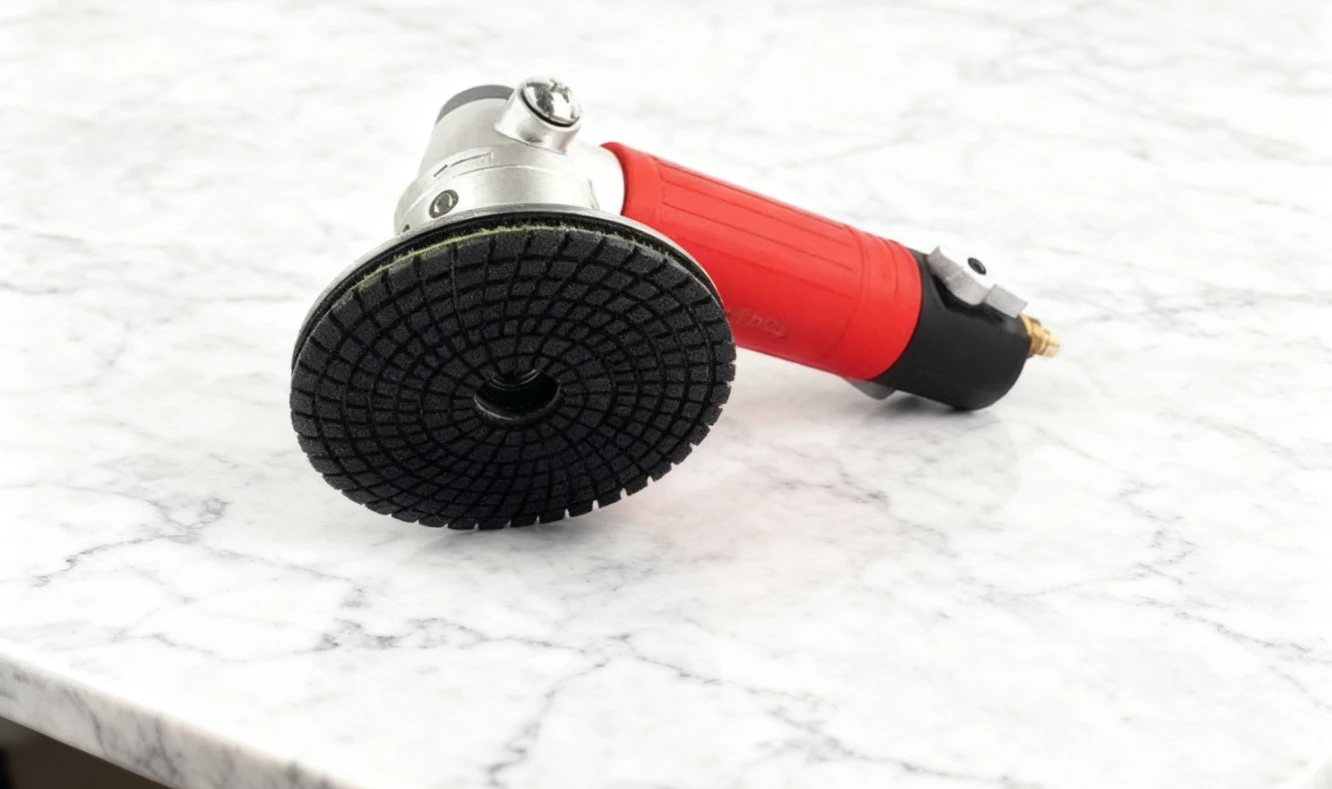
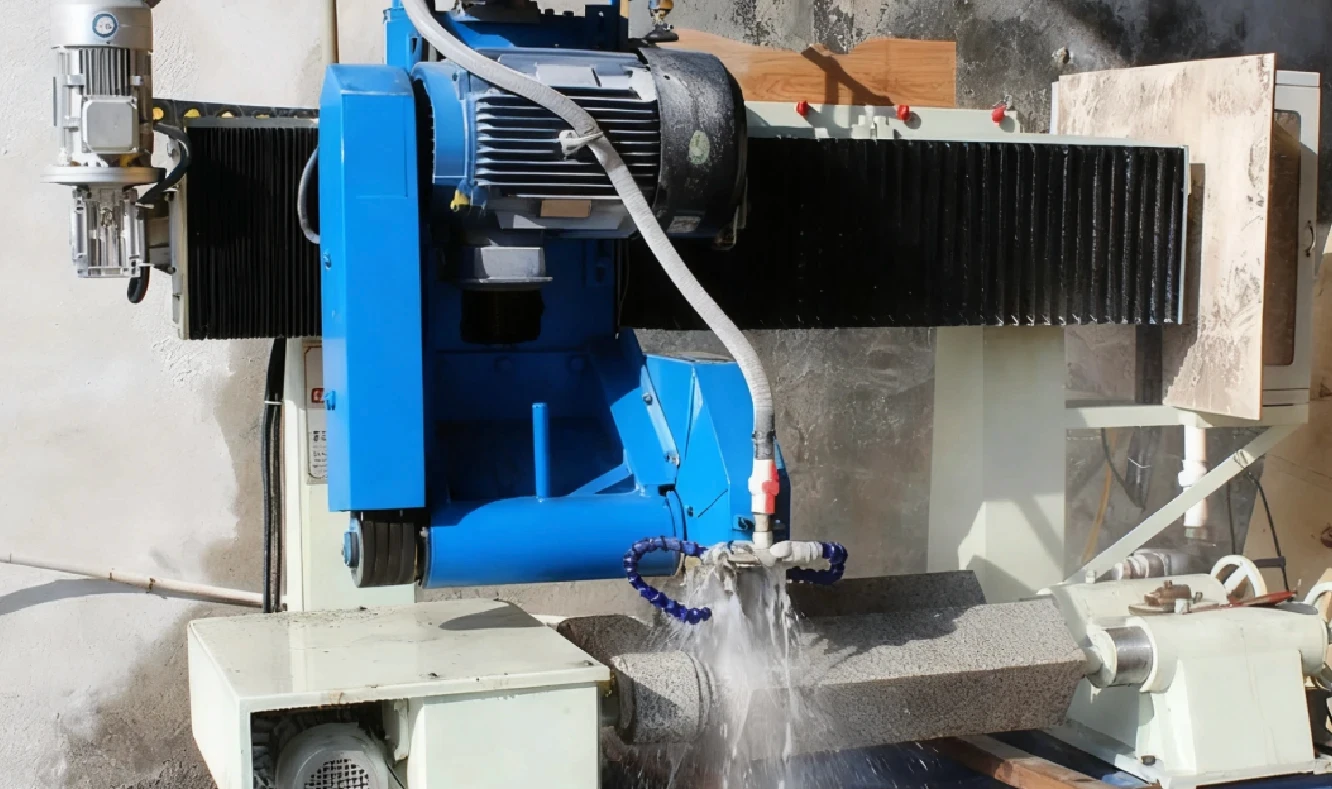
These pads are highly versatile and compatible with common handheld tools like side-exhaust and rear-exhaust air polishers, as well as larger automated systems including glass & stone edging machines, automatic slab polishing machines, and ATC polishing machines.
From large-scale flooring projects to detailed countertop work, diamond pads give you a versatile solution. Their primary function is to systematically refine a surface through a sequence of grit levels, with each step removing the scratches from the last one to create a progressively smoother and more reflective finish.
If you want to eliminate airborne dust, wet polishing is the only way to go. If you're facing a tight deadline and need mobility, dry polishing is your go-to for speed. But when you need the highest possible gloss and to protect sensitive materials like marble, wet polishing is the superior choice.
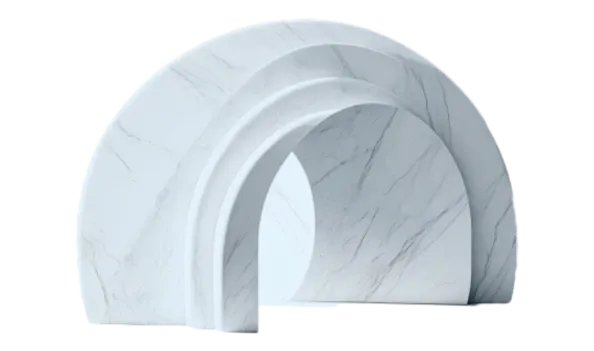
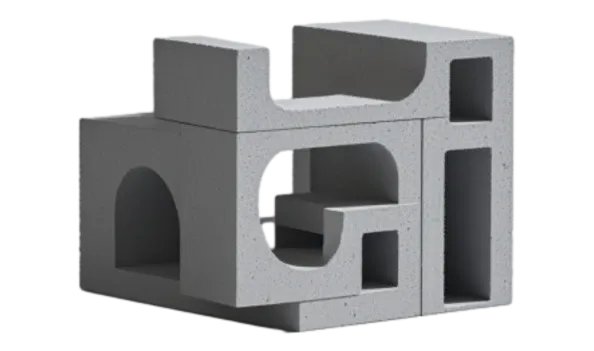
The real power of diamond pads comes from their compatibility with hard, crystalline materials. They are designed to abrade and polish surfaces that would quickly wear out conventional sandpaper.
You'll find these pads excel on a variety of common materials in your fabrication shop or on construction sites:
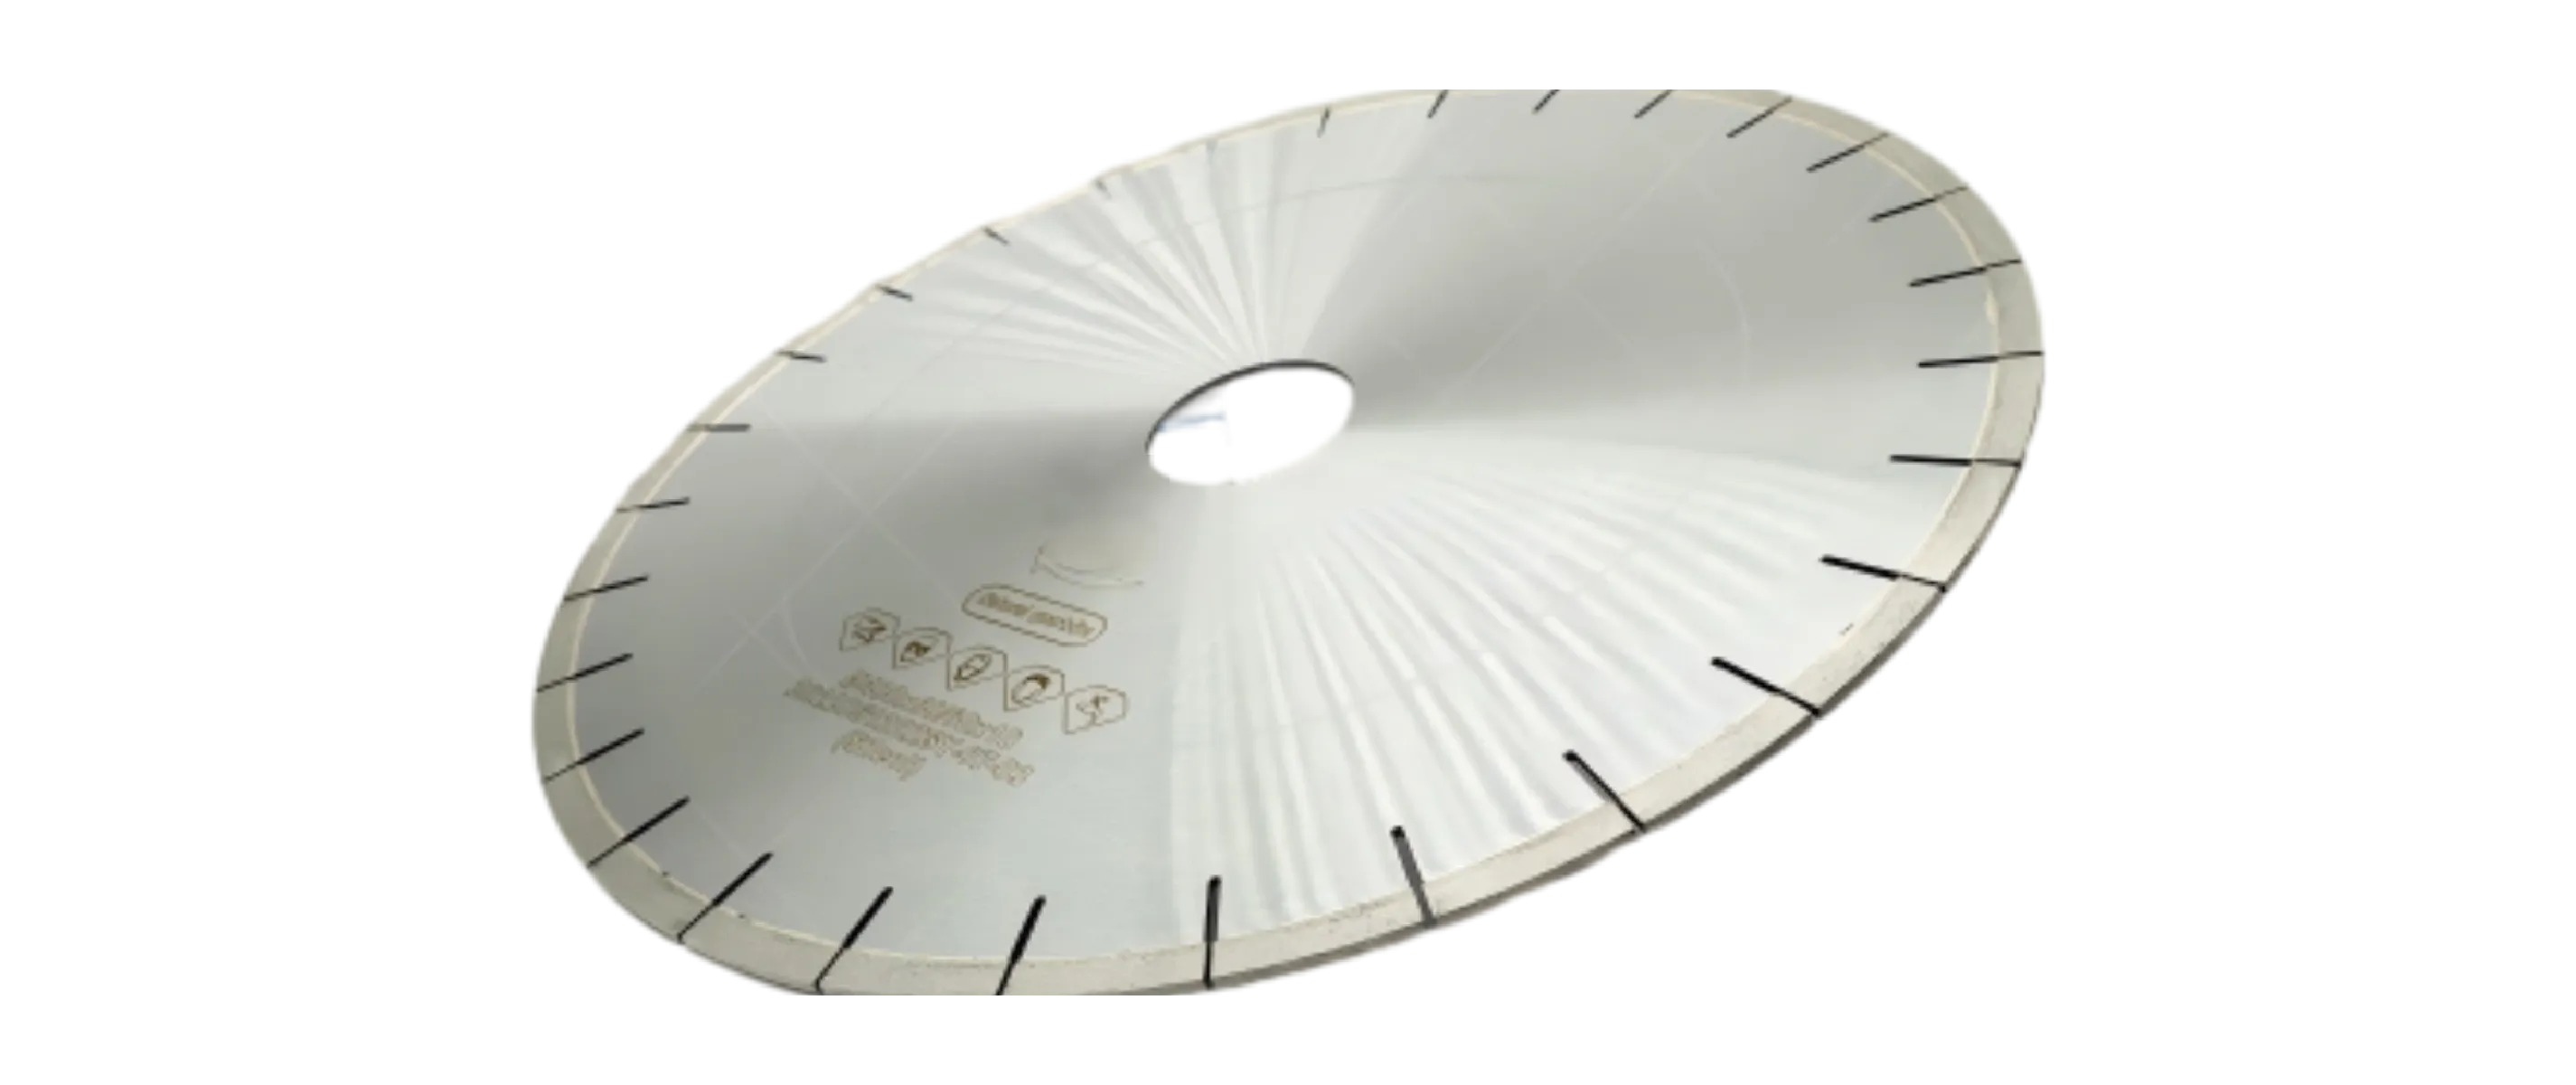
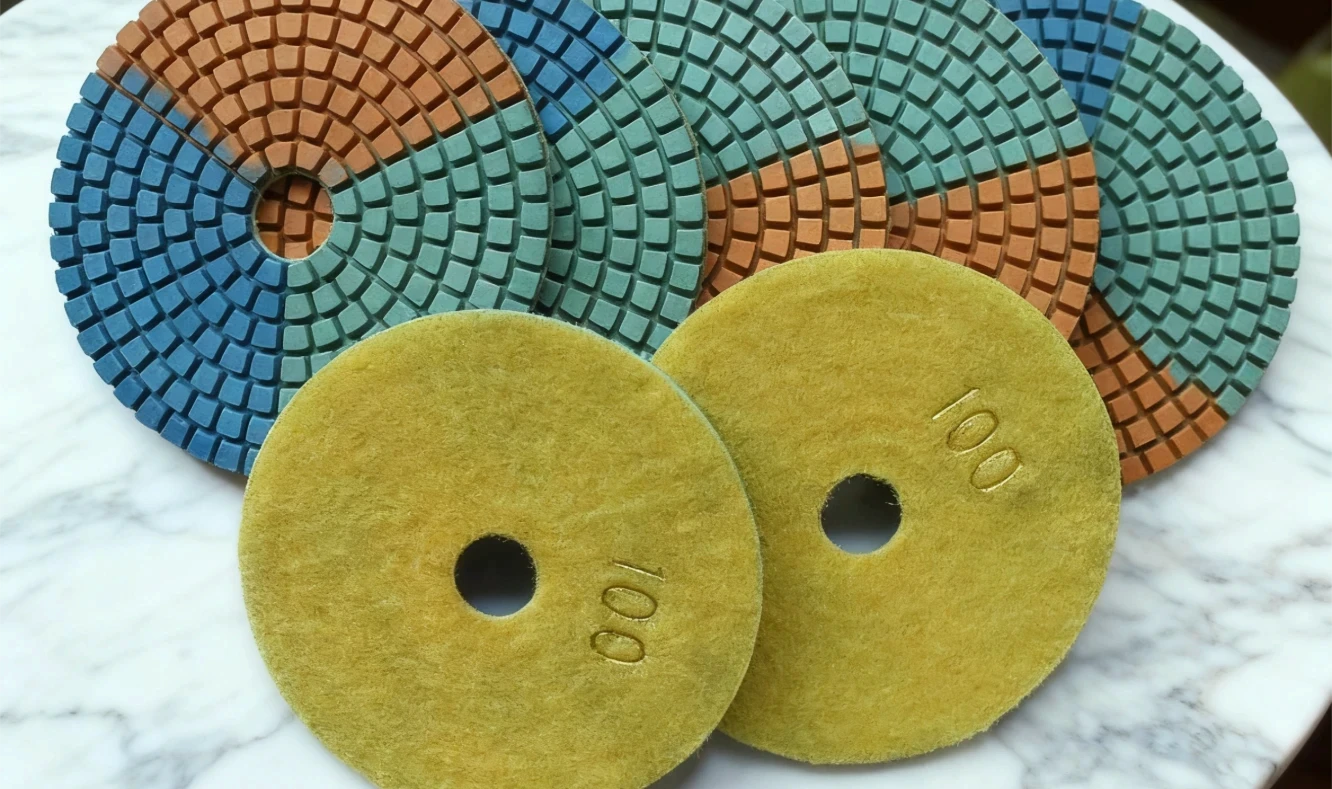
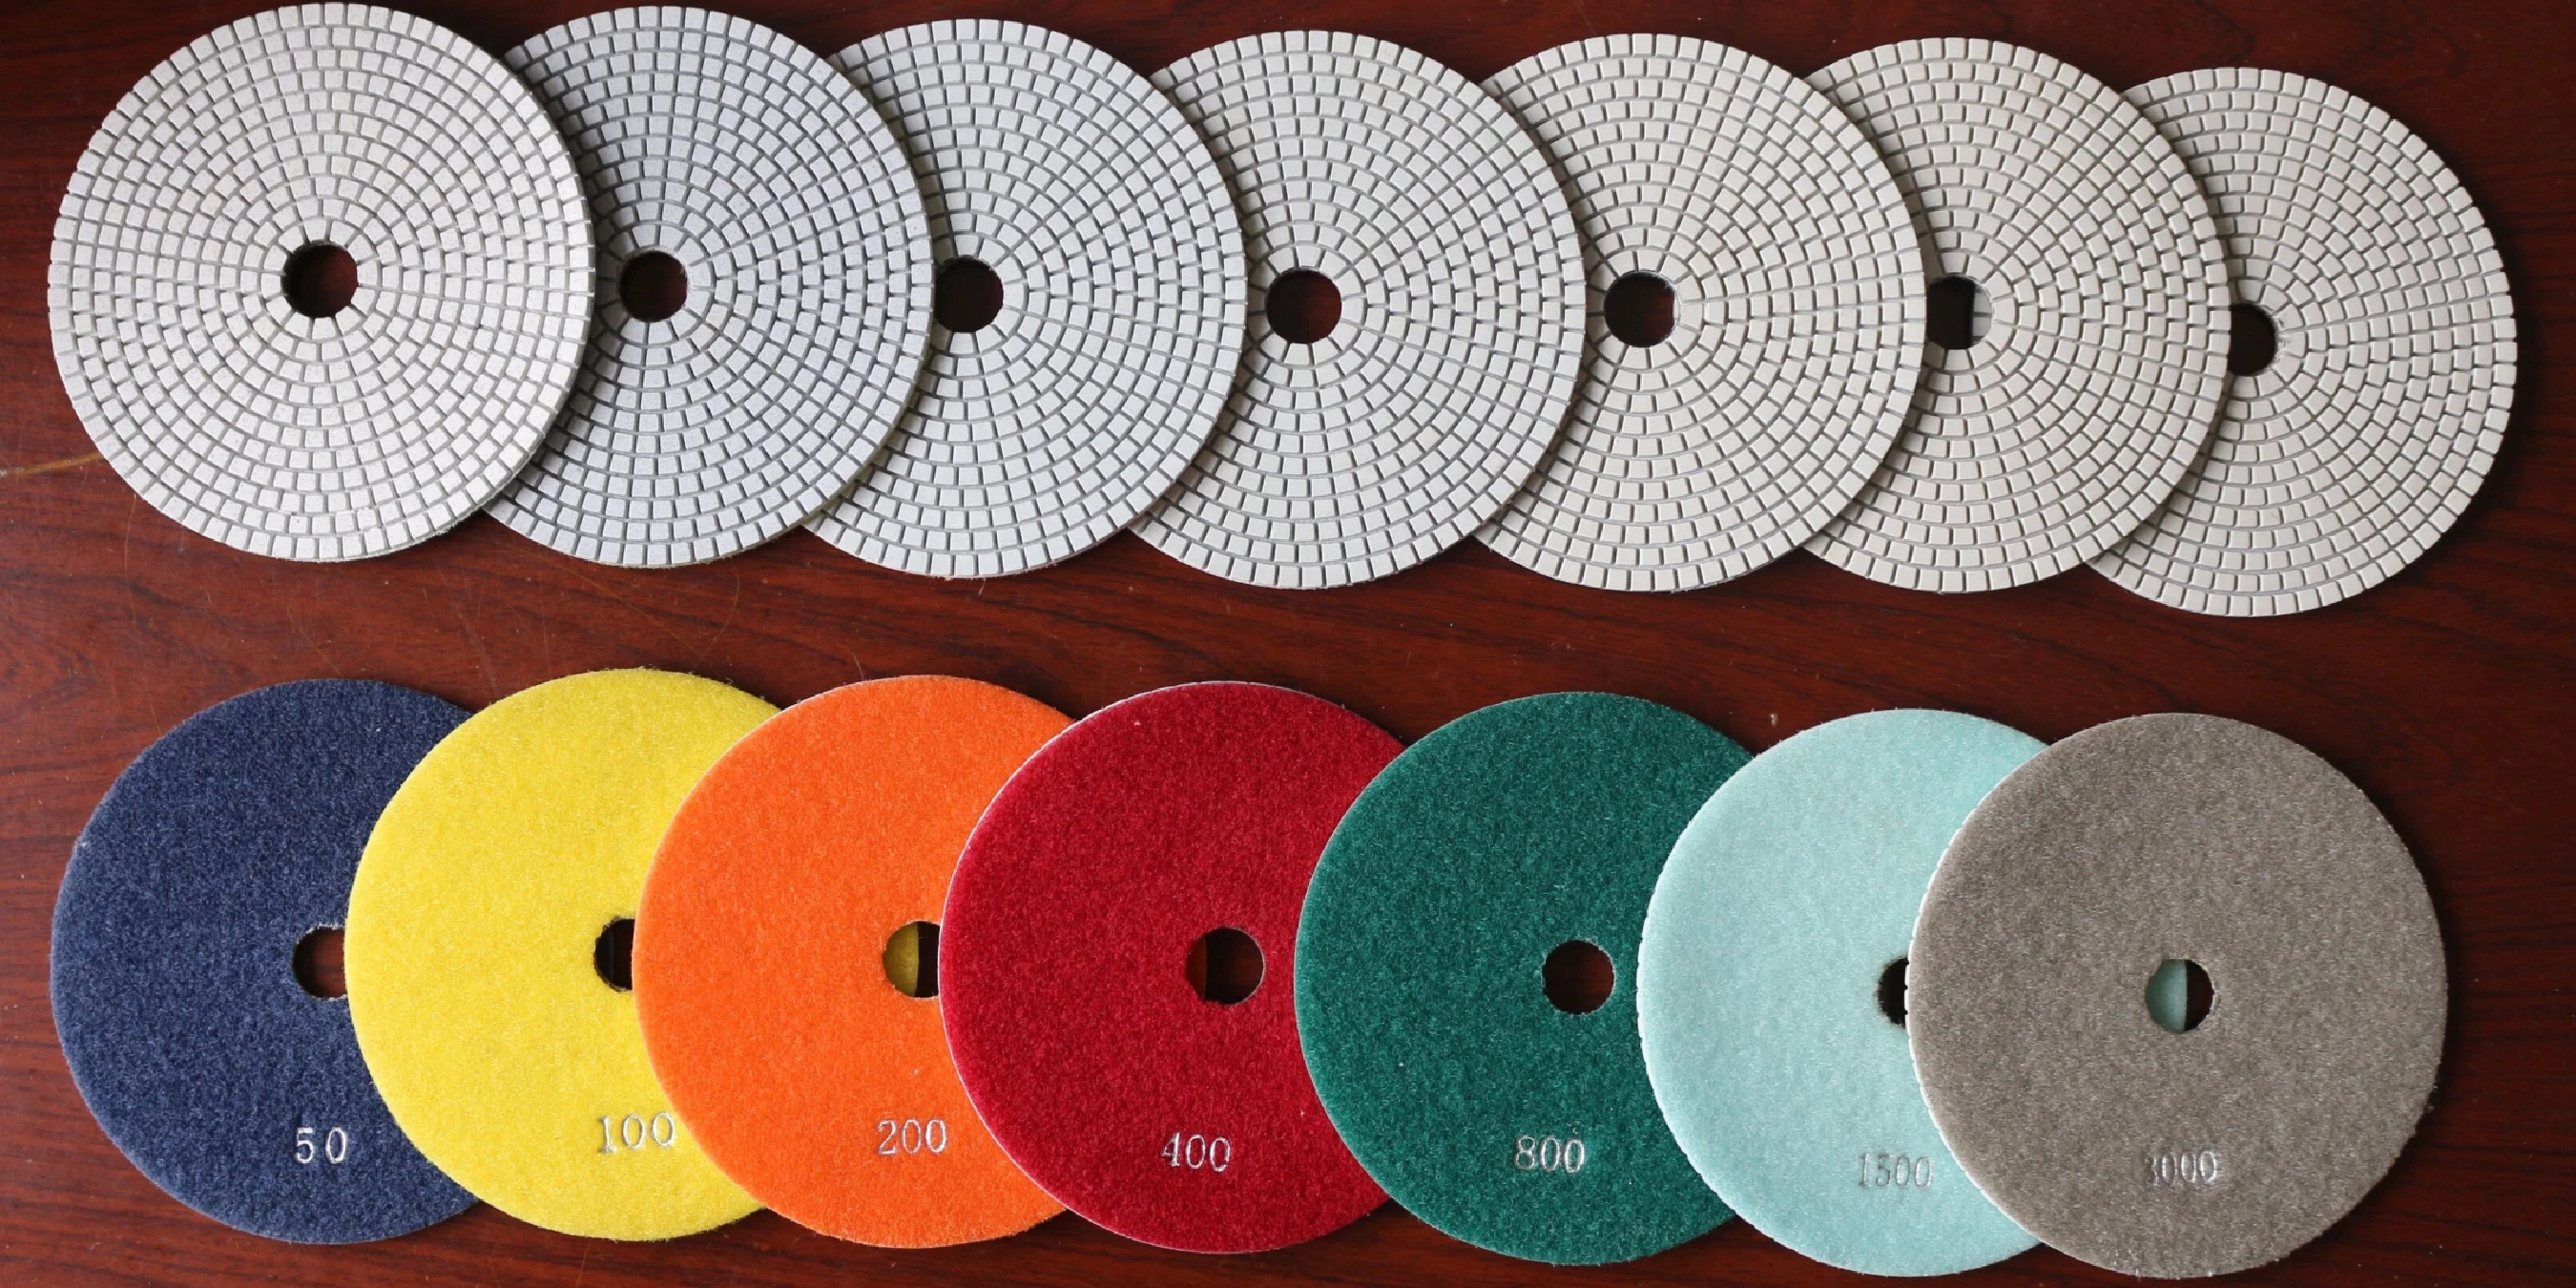
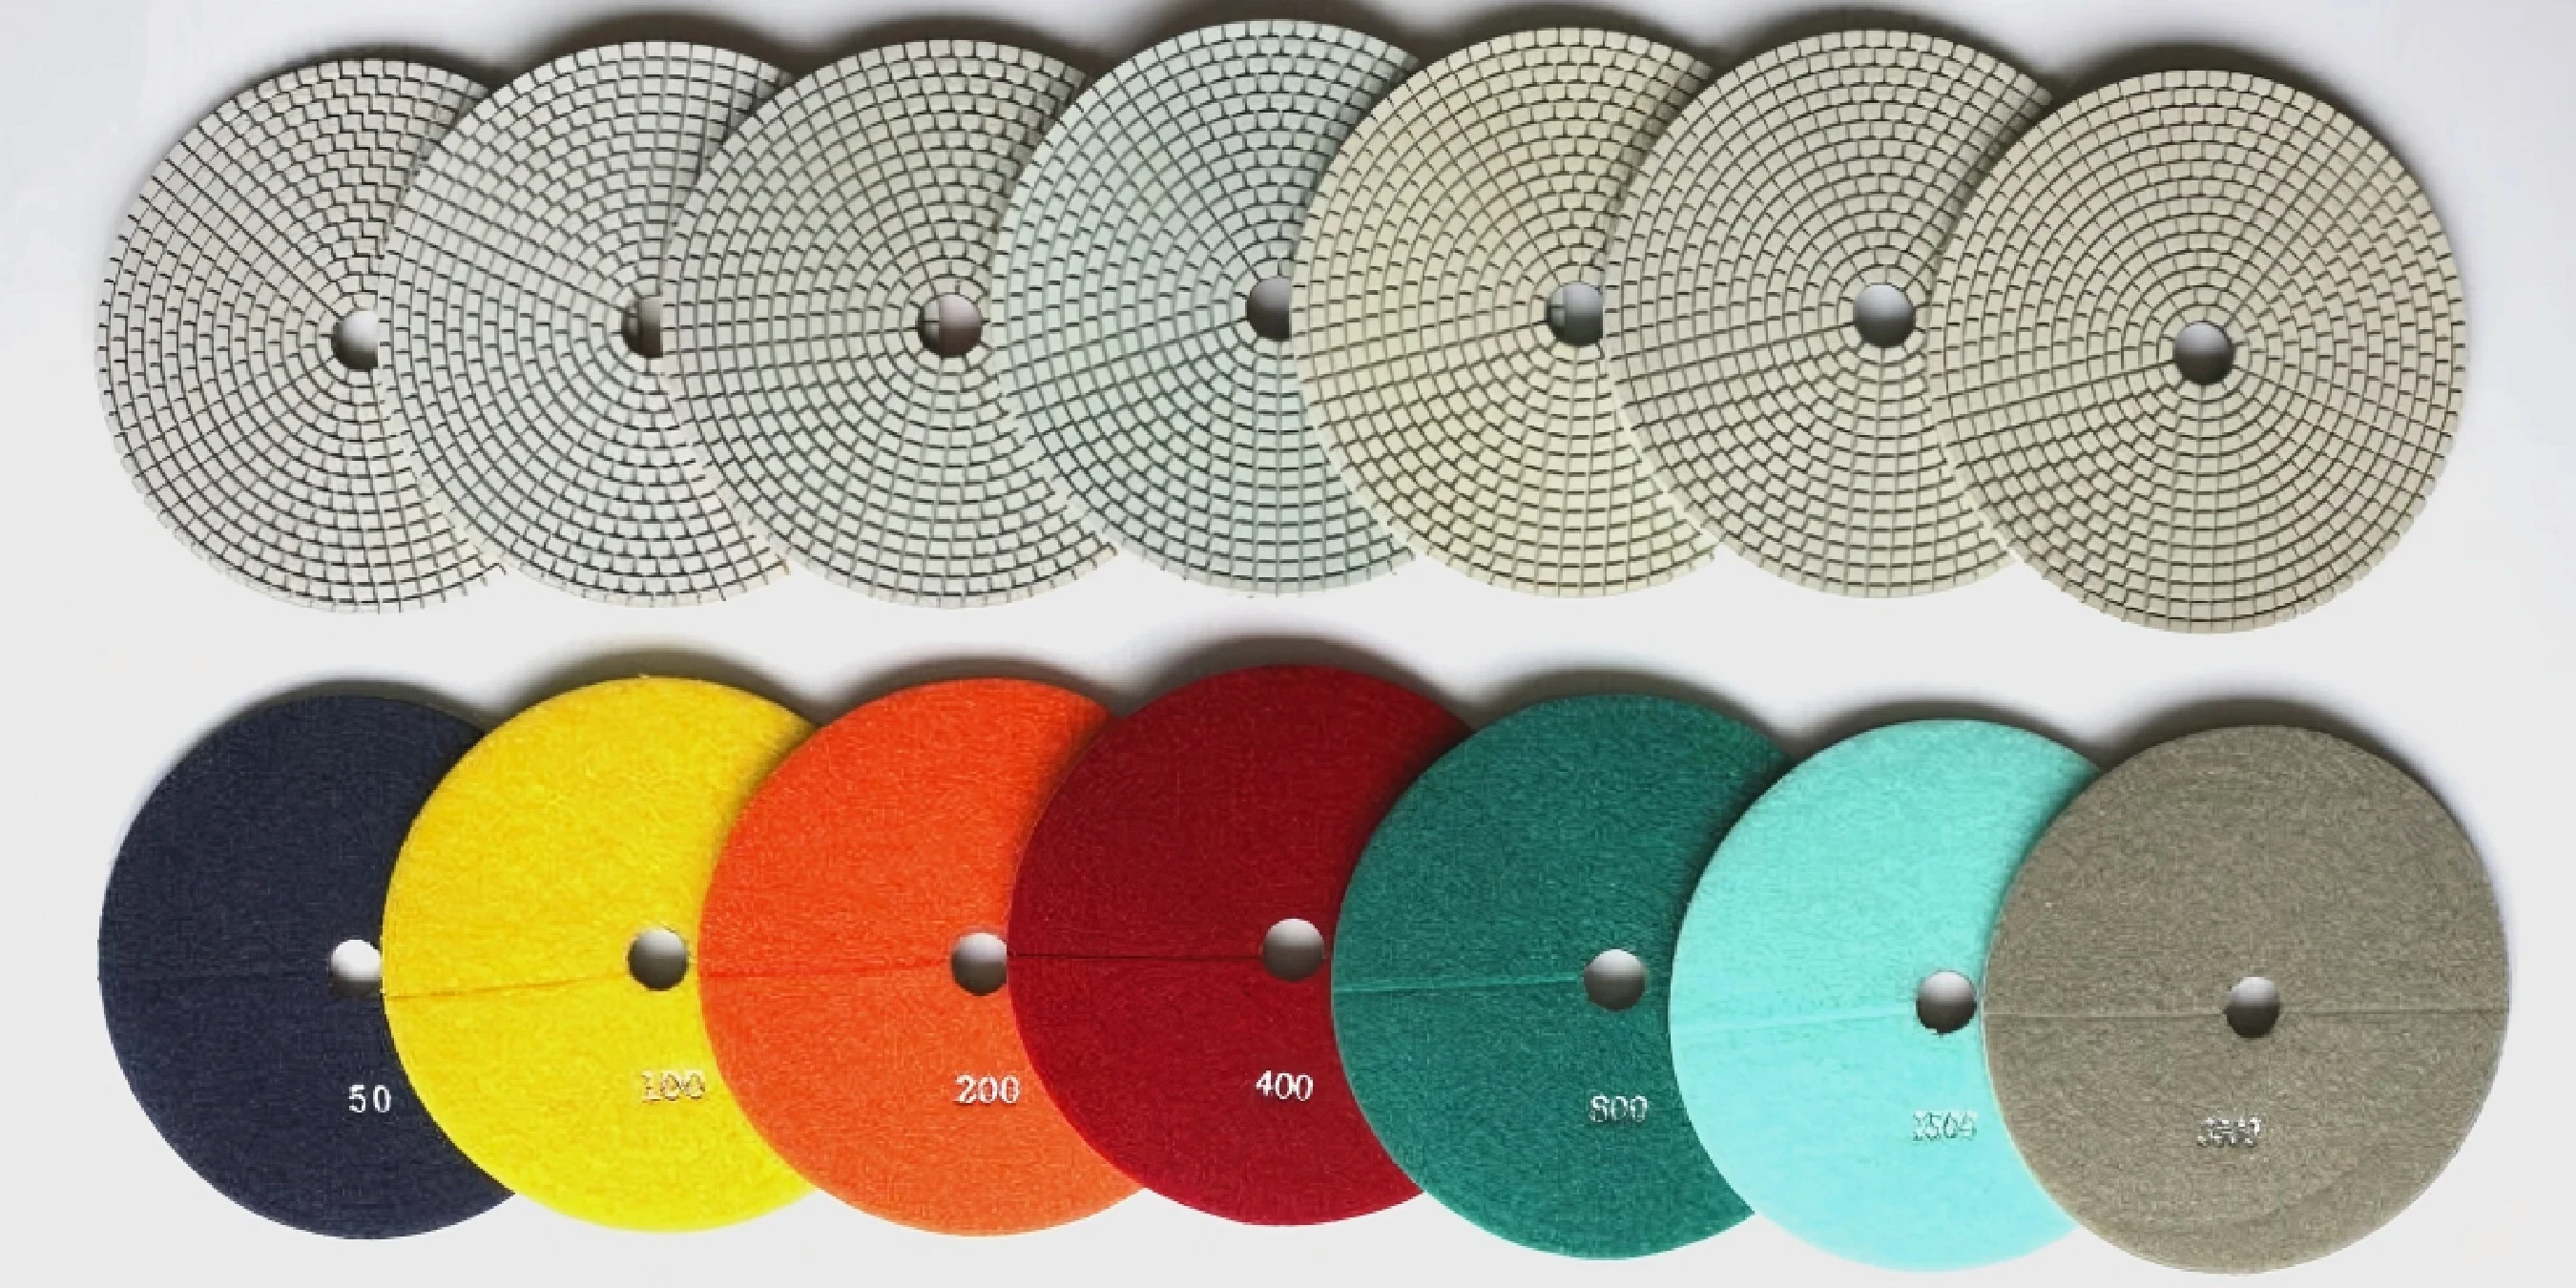
A typical grit ladder starts coarse and moves to fine: #50 → #100 → #200 → #400 → #800 → #1500 → #3000. Start coarse only if you see saw marks; otherwise, you can begin mid-range and step consistently to save time. The specific progression depends on the initial condition of the surface and your desired final gloss.
The standard is a 7-step ladder: 50# → 100# → 200# → 400# → 800# → 1500# → 3000#. However, shorter ladders are common, such as a 3-step (1#, 2#, 3#) or a 4/5-step process (4#, 5#, BUFF). The BUFF stage (available in black or white) uses pads finer than 3000# for the final polish. As a rule of thumb, use a black buff pad for black or very dark stone, and a white buff for all other colors.
Finer grits in shorter ladders often help you reach a near-mirror gloss with fewer passes. Four-step routes can work especially well on softer stones with large grain.
While versatile, these pads have their limits. You should generally not use them for:
![]()
Here are three mini-cases showing how diamond polishing pads solve common fabrication challenges you might face.
To ensure both safety and top performance, you must adhere to established best practices. Heat build-up during dry runs is a primary risk, often causing burn marks on the material or premature pad wear. You can mitigate this by reducing pressure, pausing to allow heat to dissipate, and ensuring adequate dust extraction.
Proper personal protective equipment (PPE) is non-negotiable. This includes eye and hand protection at all times. According to the OSHA respirable crystalline silica standard, employers must limit worker exposure and implement controls during grinding and polishing. As noted in the NIOSH Dust Control Handbook, using wet methods and local exhaust ventilation are highly effective at reducing airborne dust. Resources like the guide to using a Hand-held Stone Polisher with Wet Dust Suppression provide practical steps for safer operation. Finally, all manufacturer-reported parameters for RPM and pressure should be validated in pilot runs before full production (verify in pilot runs for your environment).
You should start with a coarse grit (#50–#100) only for heavy defects, or begin with a mid-range grit (#200–#400) for general refinement. Progress sequentially to #1500 or #3000 to achieve a high-gloss polish. Your exact ladder depends on the material and your target finish.
It is generally not recommended. Wet polishing pads are the better choice for marble because the water improves the final gloss and prevents heat buildup. This heat can cause burn marks or discoloration on the sensitive material.
Yes, you should. Hook-and-loop backing is the industry standard because it allows for faster changeovers and ensures secure mounting. Be sure to inspect your backing plate for wear regularly to ensure a good connection.
You should switch to wet polishing as soon as airborne dust becomes a concern or when you notice heat building up on the work surface. Wet polishing not only controls dust but also reduces pad loading and extends pad life. This typically results in a higher quality finish.
Edge burning is a classic sign of too much heat. It's usually caused by excessive pressure, dwelling too long in one spot, or insufficient cooling. To prevent it, reduce the force applied, keep the polisher moving, and add coolant (water) if you are wet polishing.
Yes, diamond pads are excellent for this. Use a mid-range grit ladder (e.g., #100 to #800) to feather the edges of the patch into the surrounding concrete. Remember to work with light pressure, vacuum between steps, and avoid overheating the patch material.
Consistency is your best friend. Implement a standard operating procedure (SOP) with a defined grit ladder for each material you work with. Always inspect the surface after each pass to ensure you've removed all scratches from the previous grit before moving on.
 English

Get A Easy Solution
Chat Online
Hi, this is Lizzy from Dinosaw ( Not a Robot ). Which Machine ( model ) do you want? Please WhatsApp us now
Hello 👋 How can we help?